Create new issues
With the Add-in you can easily create new Jira issues based on the email content and upload attachments with one single click.
Where to find “Create New Issue”
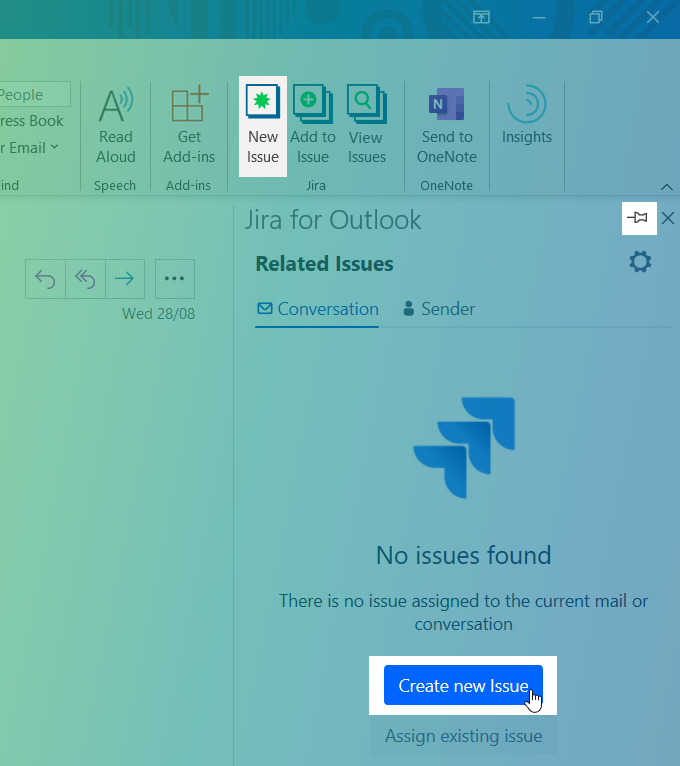
You can find the add-in in the main ribbon of your Outlook email inbox.
If you want to create a new issue related to an email, select the email and click on New Issue.
The add-in will automatically search for related issues to that email. If there is no related issue, you need to click on Create new Issue in the add-in sidebar.
When you open the email in a new window, you have the button New Issue in the top menu.
Selected text COM ADD-IN

When using the COM add-in, you can select a text section in the email and create a new issue for only the selected text selection.
Outlook on the web is slightly different. Check this guide how to find the add-in online.
Project and issue type selection
The new issue screen consists of a static part at the top. Here you can select the Jira Instance, the Project, the Issue Type and, if necessary, the Issue.
Based on the selection of each field, the content of all following fields will be adapted dynamically.
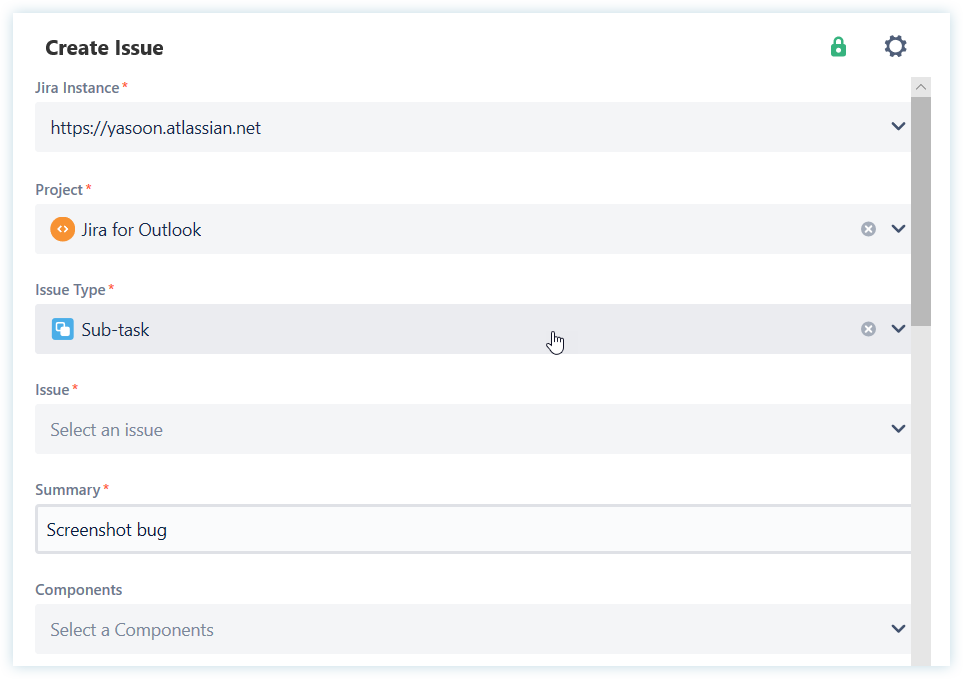
If you have multiple Jira instances configured, you can choose which Jira instance you want to use. Oftentimes you only have one Jira instance and the field is not visible.
The field Project shows you all your projects which you have access to.
Based on the selected project, the add-in populates the available Issue Types.
If you select a Sub-task issue type, the add-in opens a new field type Issue. This field type will be the parent of your newly created issue. You can search for keys or descriptions - filtered on the currently selected project.
Screens
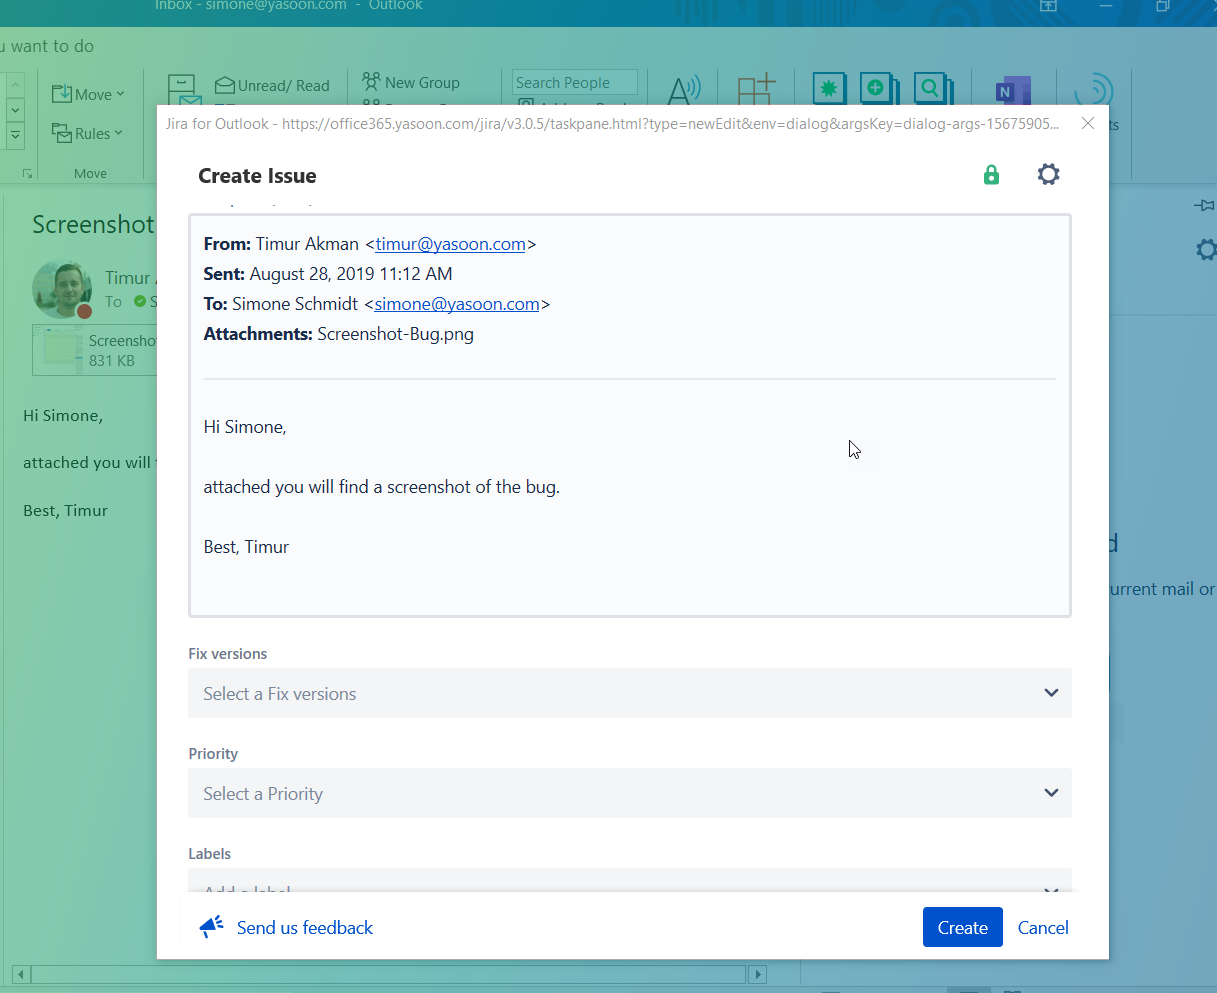
After selecting project and issue type, the add-in shows the rest of the screen.
It shows the same fields in the same order as in Jira. The description field uses a rich-text editor. So, you can directly preview how the issue will look like in Jira.
Most of the fields have their known value help, e.g. to search for an assignee.
It should be easy to recognize your Jira.
Reference to User Meta
Attachments
Handling attachments easily is important when working in Outlook as they often contain necessary information.
All attachments from the email are automatically populated. You can select the attachments being uploaded or not.
You can also upload files from your local computer by clicking on the Browse button or simply drag and drop files in the add-in.
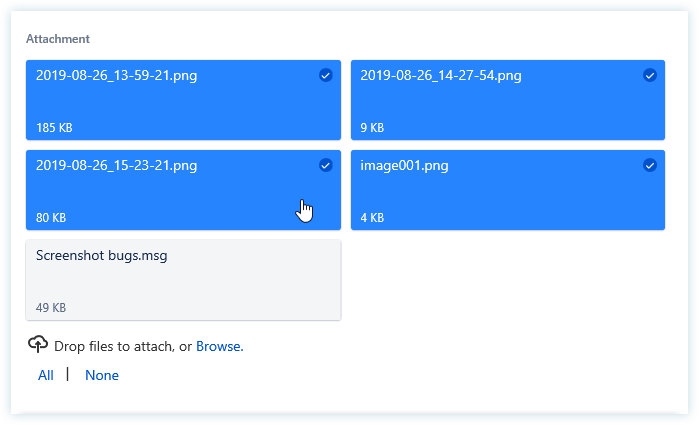
In your Outlook settings you can set defaults on your attachments (e.g. automatic upload)
Custom fields
If the issue contains Jira custom fields, the add-in supports them out of the box.
However, some fields might be provided by a third-party app (e.g. Tempo Timesheet or Jira Portfolio), please check the following page for compatibility
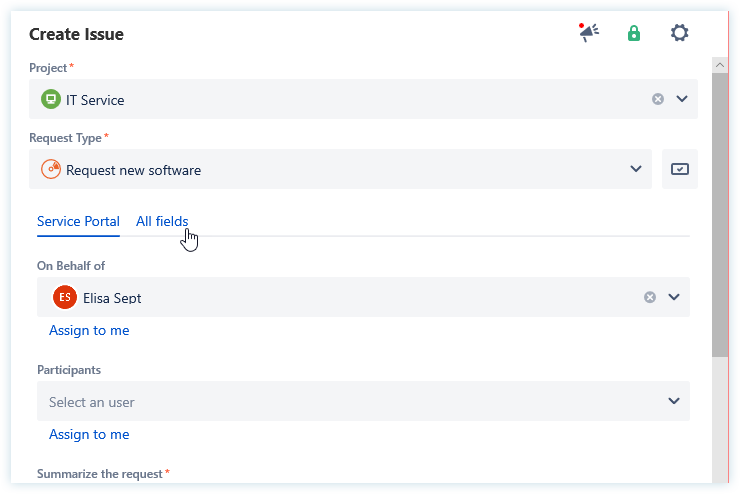
Service Desk features
The add-in provides specific features for service desk (SD) agents to create tickets in the name of the email sender.
Whenever you choose a SD project, the add-in works a little bit different:
It will work with Request Types instead of Issue Types
It will show a tab called Service Portal that shows the fields as they are configured in the SD portal
The reporter field will check if the sender of the email has an SD account and allows to create a new one (if allowed by the portal settings)
Other persons on CC will be added as participants when they have a SD account
If you want to add information that is not visible for customers, you can use tab All fields
You can disable Service Portal fields in the settings
Templates and default values
We use the default values from Jira whenever possible.
The add-in provides own templates that can be individually defined by the Jira admin. These templates determine which information from an email will be available in Jira.
Be default:
The email subject is automatically the summary of the Jira issue
The whole email body is the description of the Jira issue
The sender of the email is the reporter of the Jira issue
Creating the issue
When creating the issue, the add-in validates your data and if all mandatory fields are set, it will create the issue in Jira.
You will see a confirmation message with the issue key:

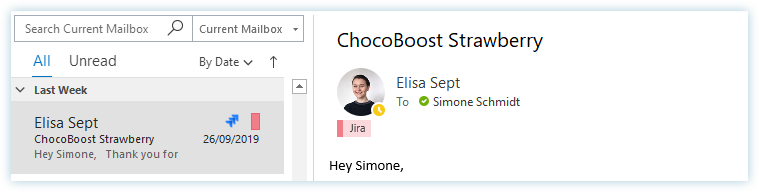
Additionally, the add-in connects the email with the Jira issue in the background. Thus, you can see all issues related to this email (or other emails) in a handy sidebar in your Outlook.
Open the Related issues sidebar to see the issue. Also a category has been added so you always know the email has been uploaded.
COM ADD-IN
When using the COM add-in, there is a Jira icon next to the email to find it easier.