In certain situations, you may have unique workflows that require specialized automations. In these cases, relying solely on standard Jira issue data may not suffice. Discover how to leverage custom data in automations to extract and utilize values effectively within your automation actions.
Please ensure you have reviewed the following guidelines for our automations: Automation.
General Guidelines for Execution
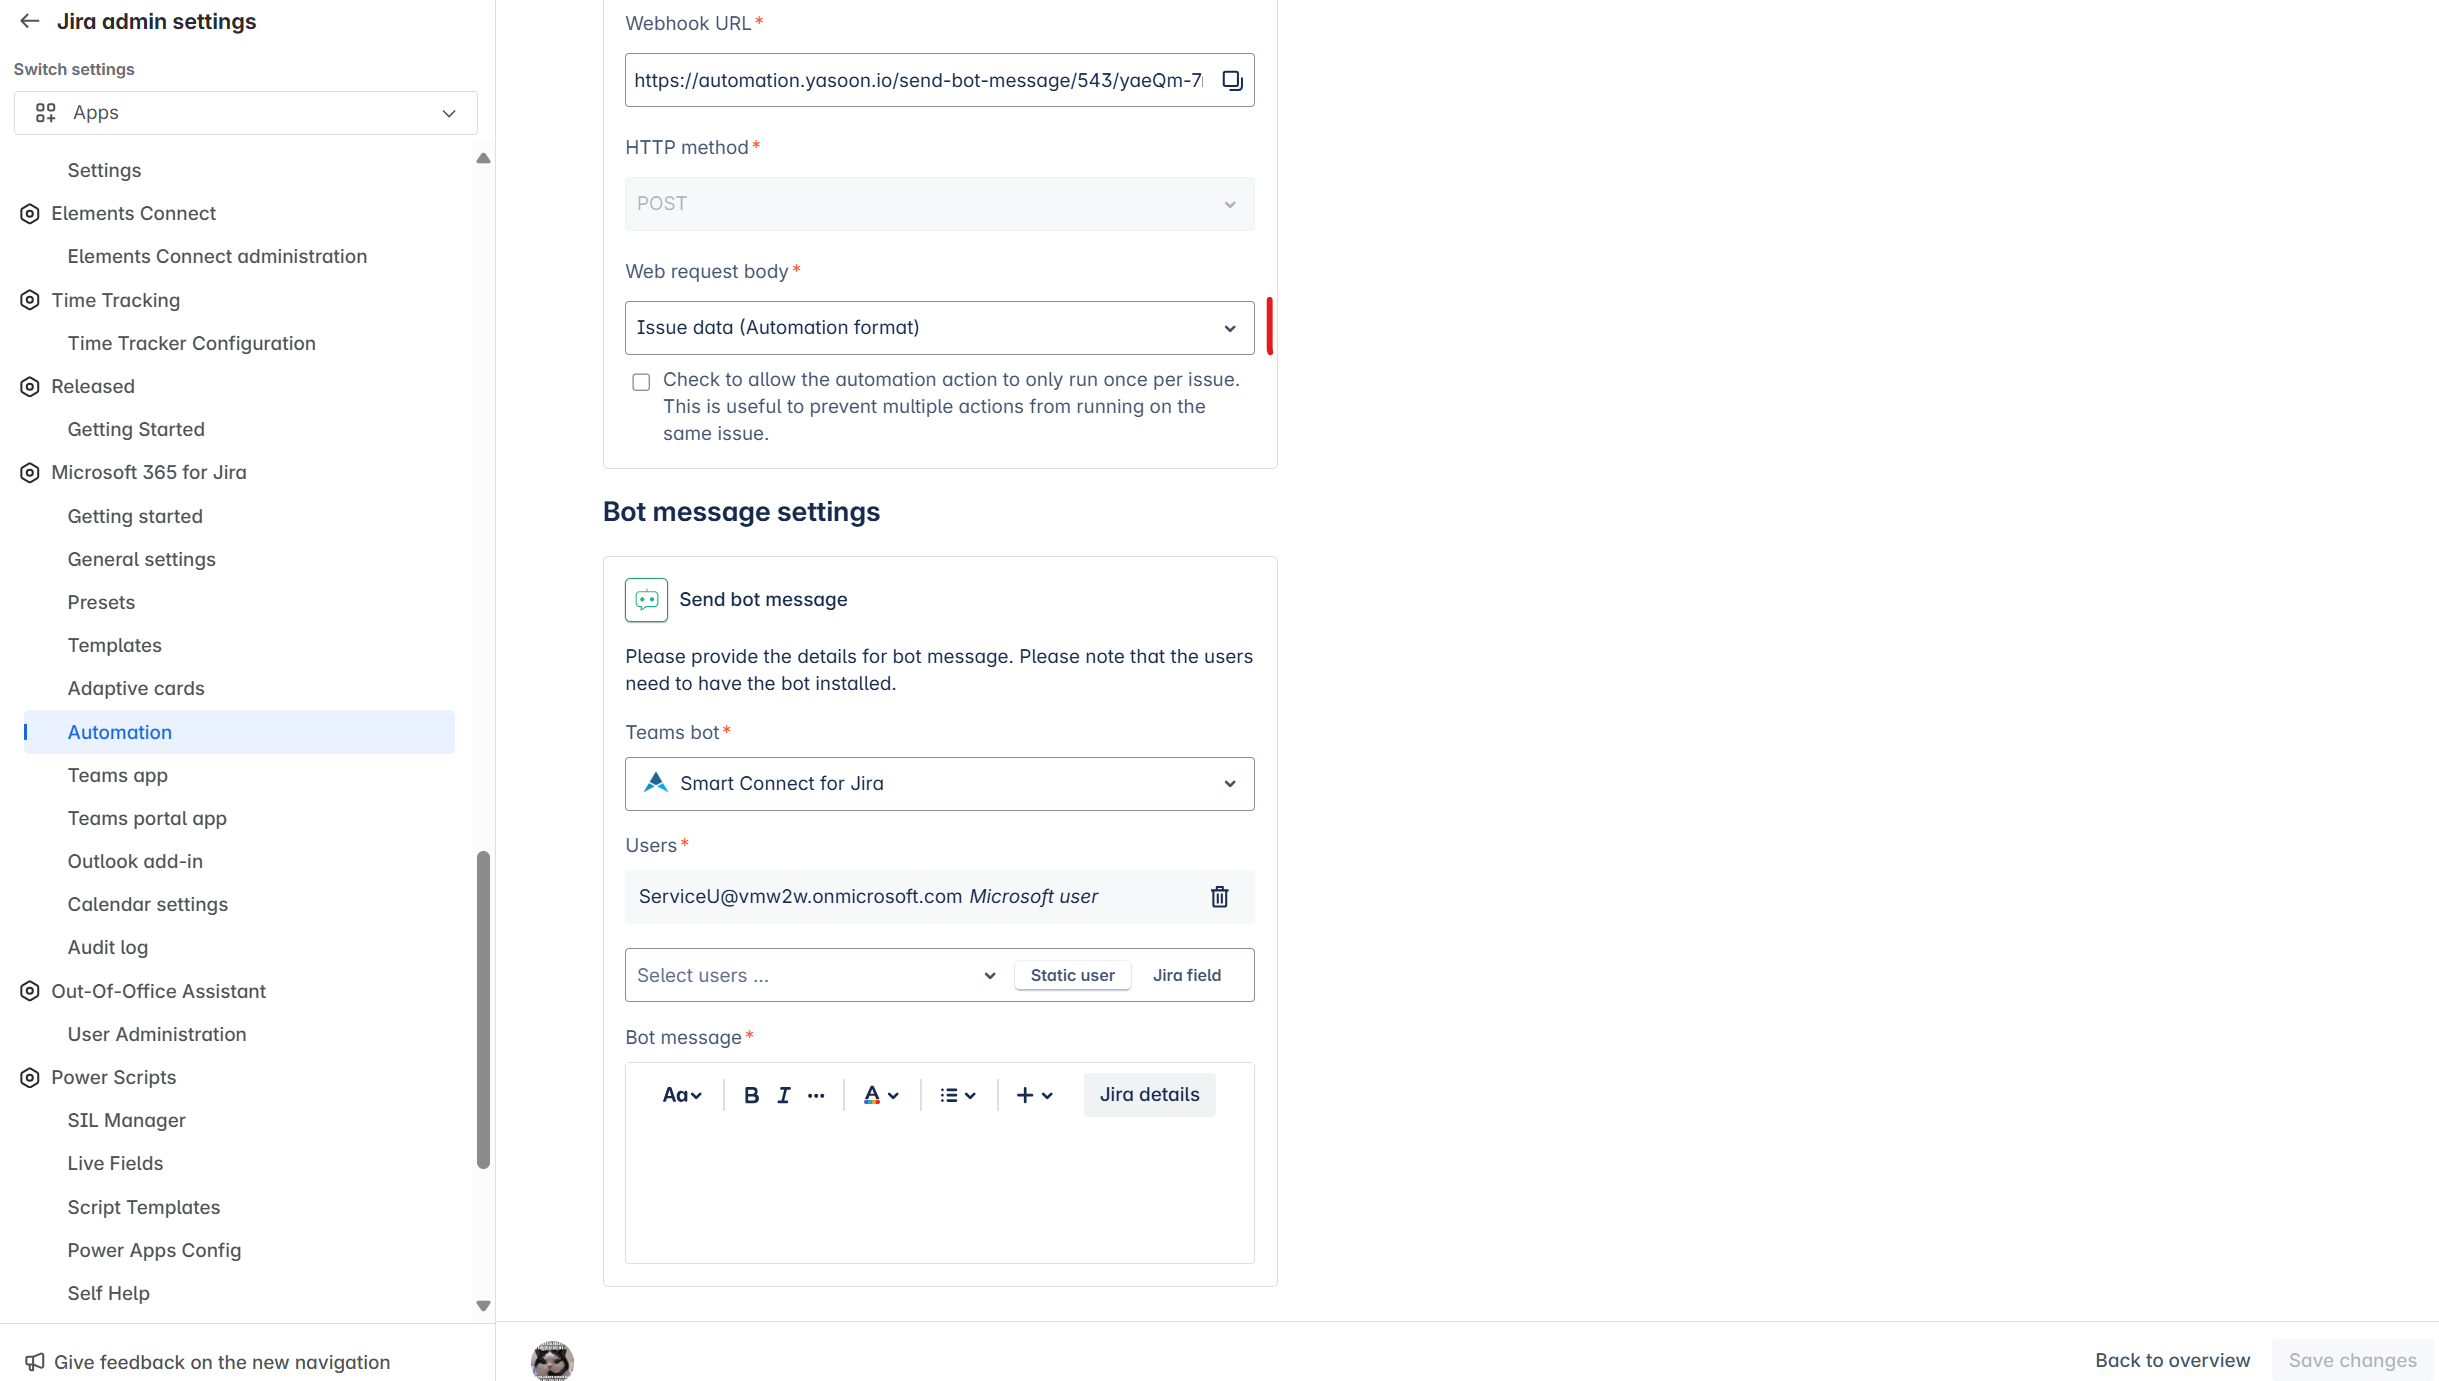
If you are already acquainted with our automation actions, you understand that you typically select issue data in either Automation format or Jira format within the web request body, as illustrated below:
To utilize Custom data values, you need to adjust the toggle in two locations: here and within the Jira automation rule.
-
First, switch the toggle in our automation action to "Custom data."
-
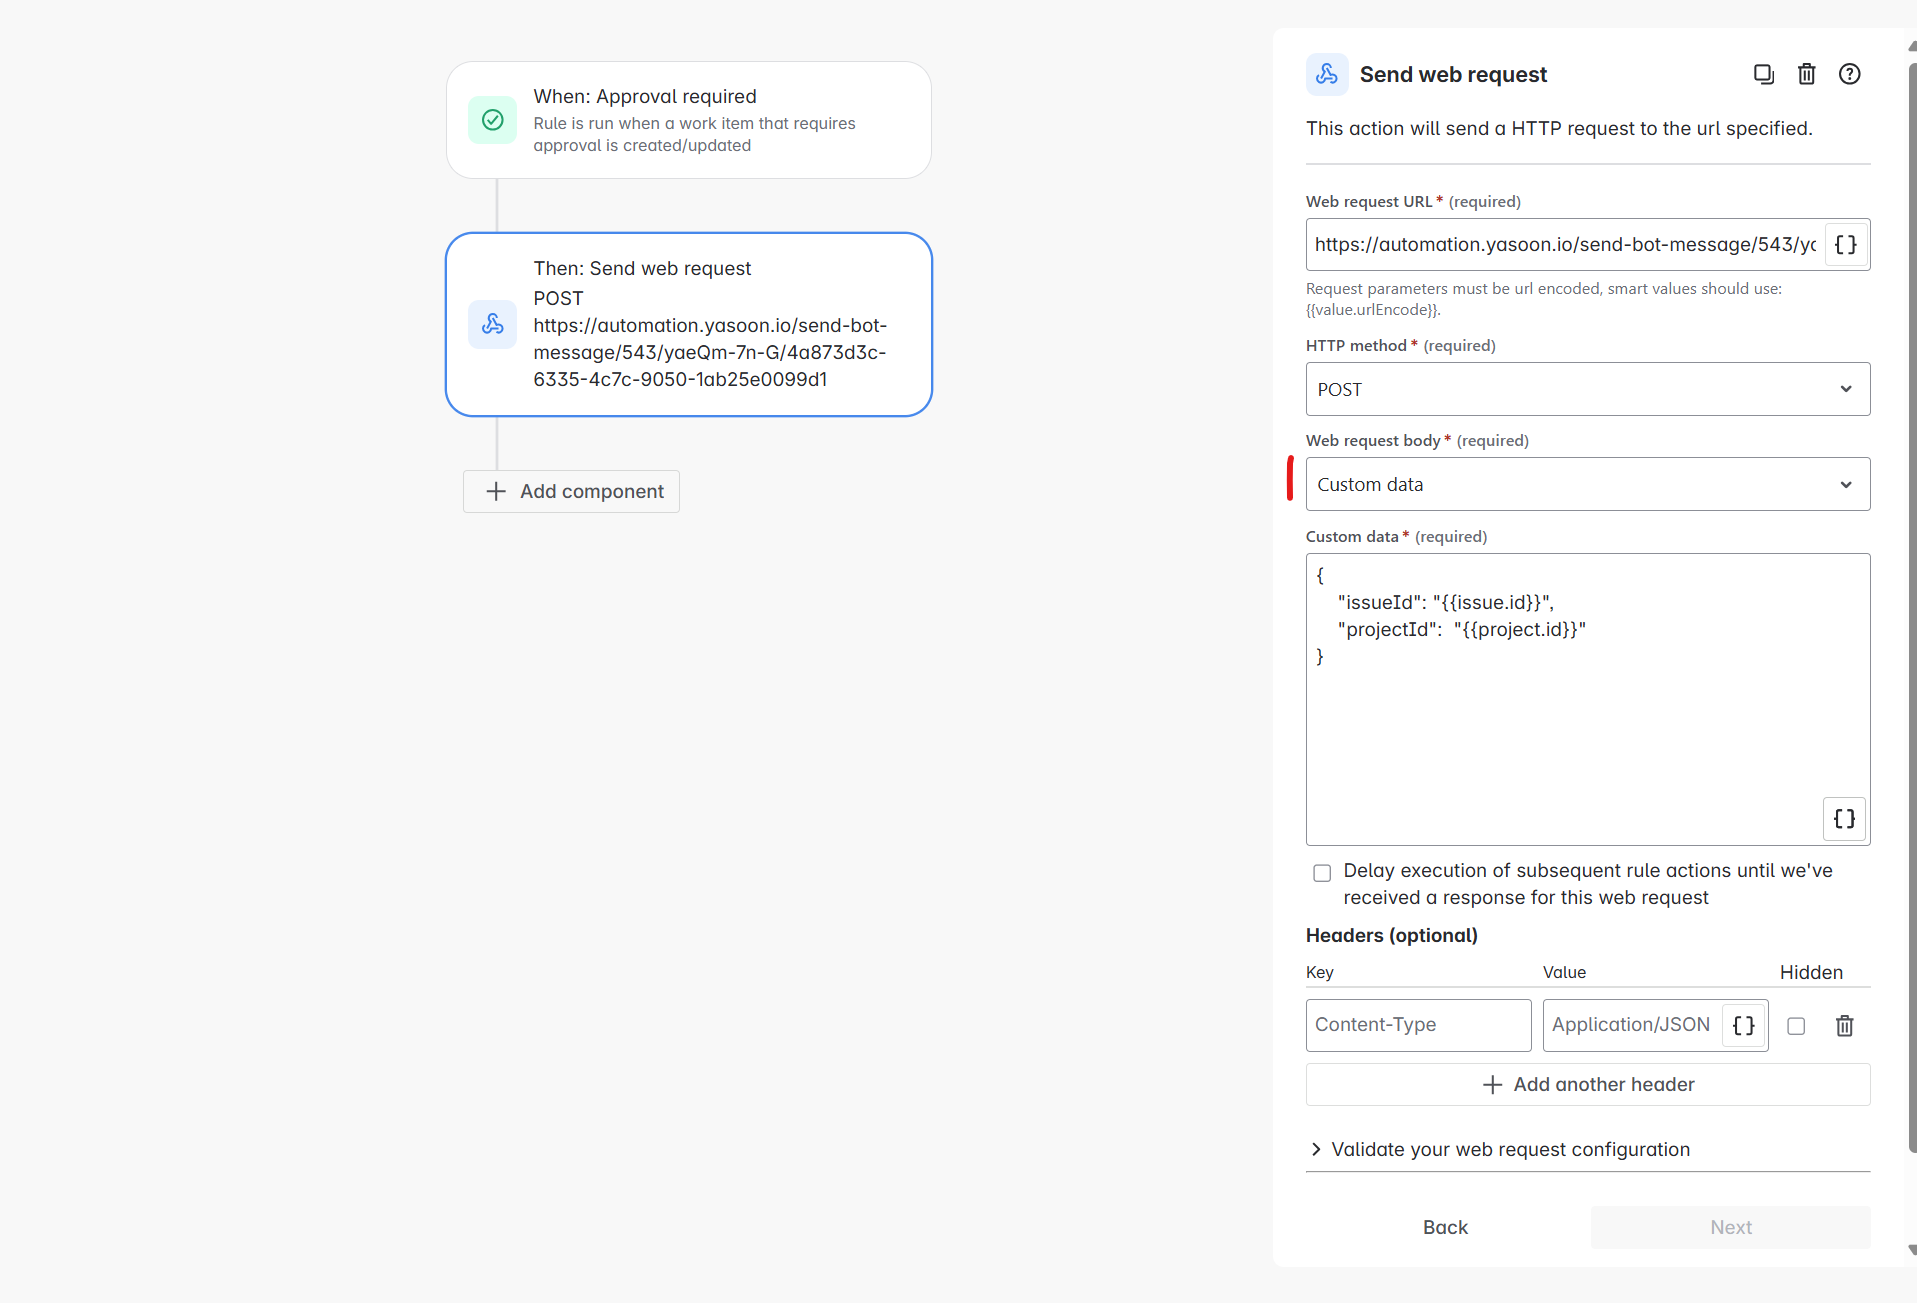
Next, navigate to the corresponding Jira automation rule and select the "Custom data" option within the "Send web request" section:
-
Utilize the following values as fundamental inputs: you may provide either issueIds or simply IssueId within the content.
{
    "issueId": "{{issue.id}}",
    "projectId":  "{{project.id}}"
}
-
Add here your custom value:
{
    "issueId": "{{issue.id}}",
    "projectId":  "{{project.id}}",
    "mynewvalue": "{{automation.Jira.Value}}"
}
-
When now using the following value in our automation action rule it will parse the value to it:
{{customData.mynewvalue}}
Examples
Helpful Tip: To examine potential values from the trigger or automation rule, you can conveniently add a log action. This will allow you to log the value and observe the results that are returned.
Useful links
Smart values in Atlassian Automation | Cloud automation Cloud | Atlassian Support
Automation smart values - issues | Cloud automation Cloud | Atlassian Support