Once the Jira admin has activated the Email feature in the admin settings, you can view the related emails panel in your Jira issue.
To access Jira features directly in the Outlook inbox, users must log in to Jira Cloud with their Microsoft account the first time they use the feature.
Please follow the steps below.
To work with emails in Jira, users must first log in to Jira Cloud with their Microsoft account during their initial setup (refer to: Login from Jira).
Login from Outlook
The login from Outlook is required to access Jira features in your Outlook inbox, such as searching for issues, creating new issues from emails, or adding email conversations to existing issues. Follow the steps below.
Login from Outlook
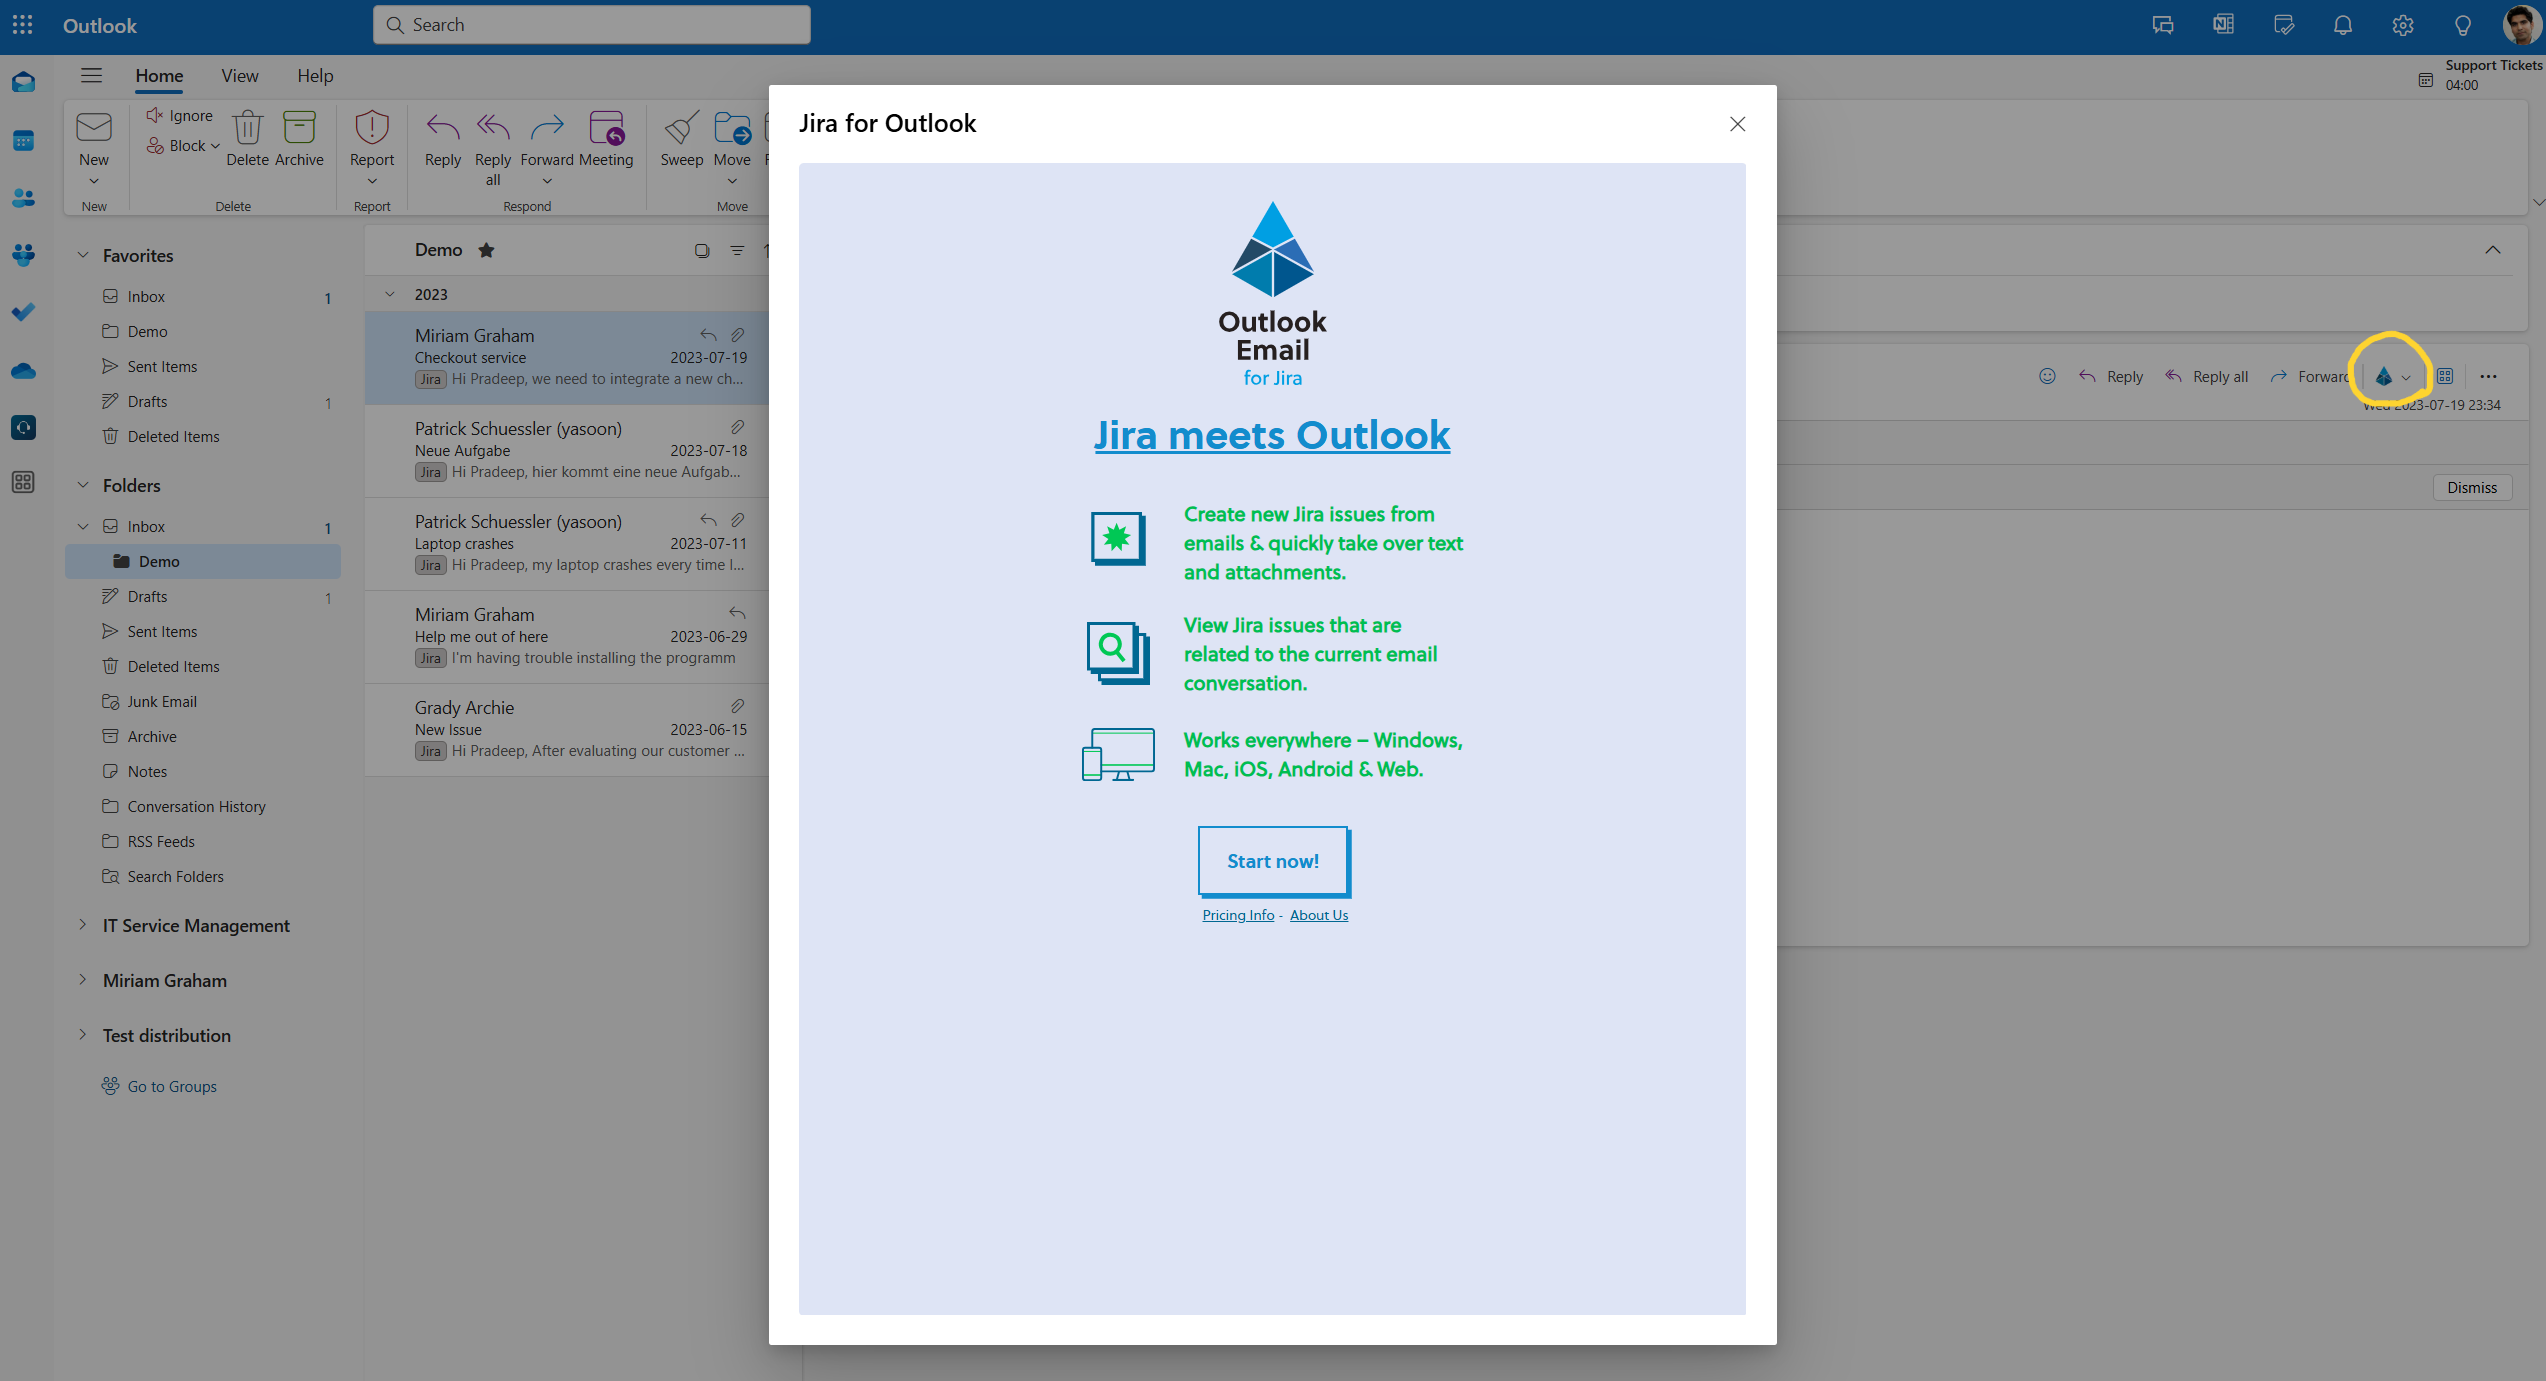
When your Microsoft admin has set-up the email feature, you'll see three buttons in the ribbon (Outlook classic) or a Jira for Outlook icon next to your emails. Click on it and select “create issue” and “Start now”.
Choose a Jira instance
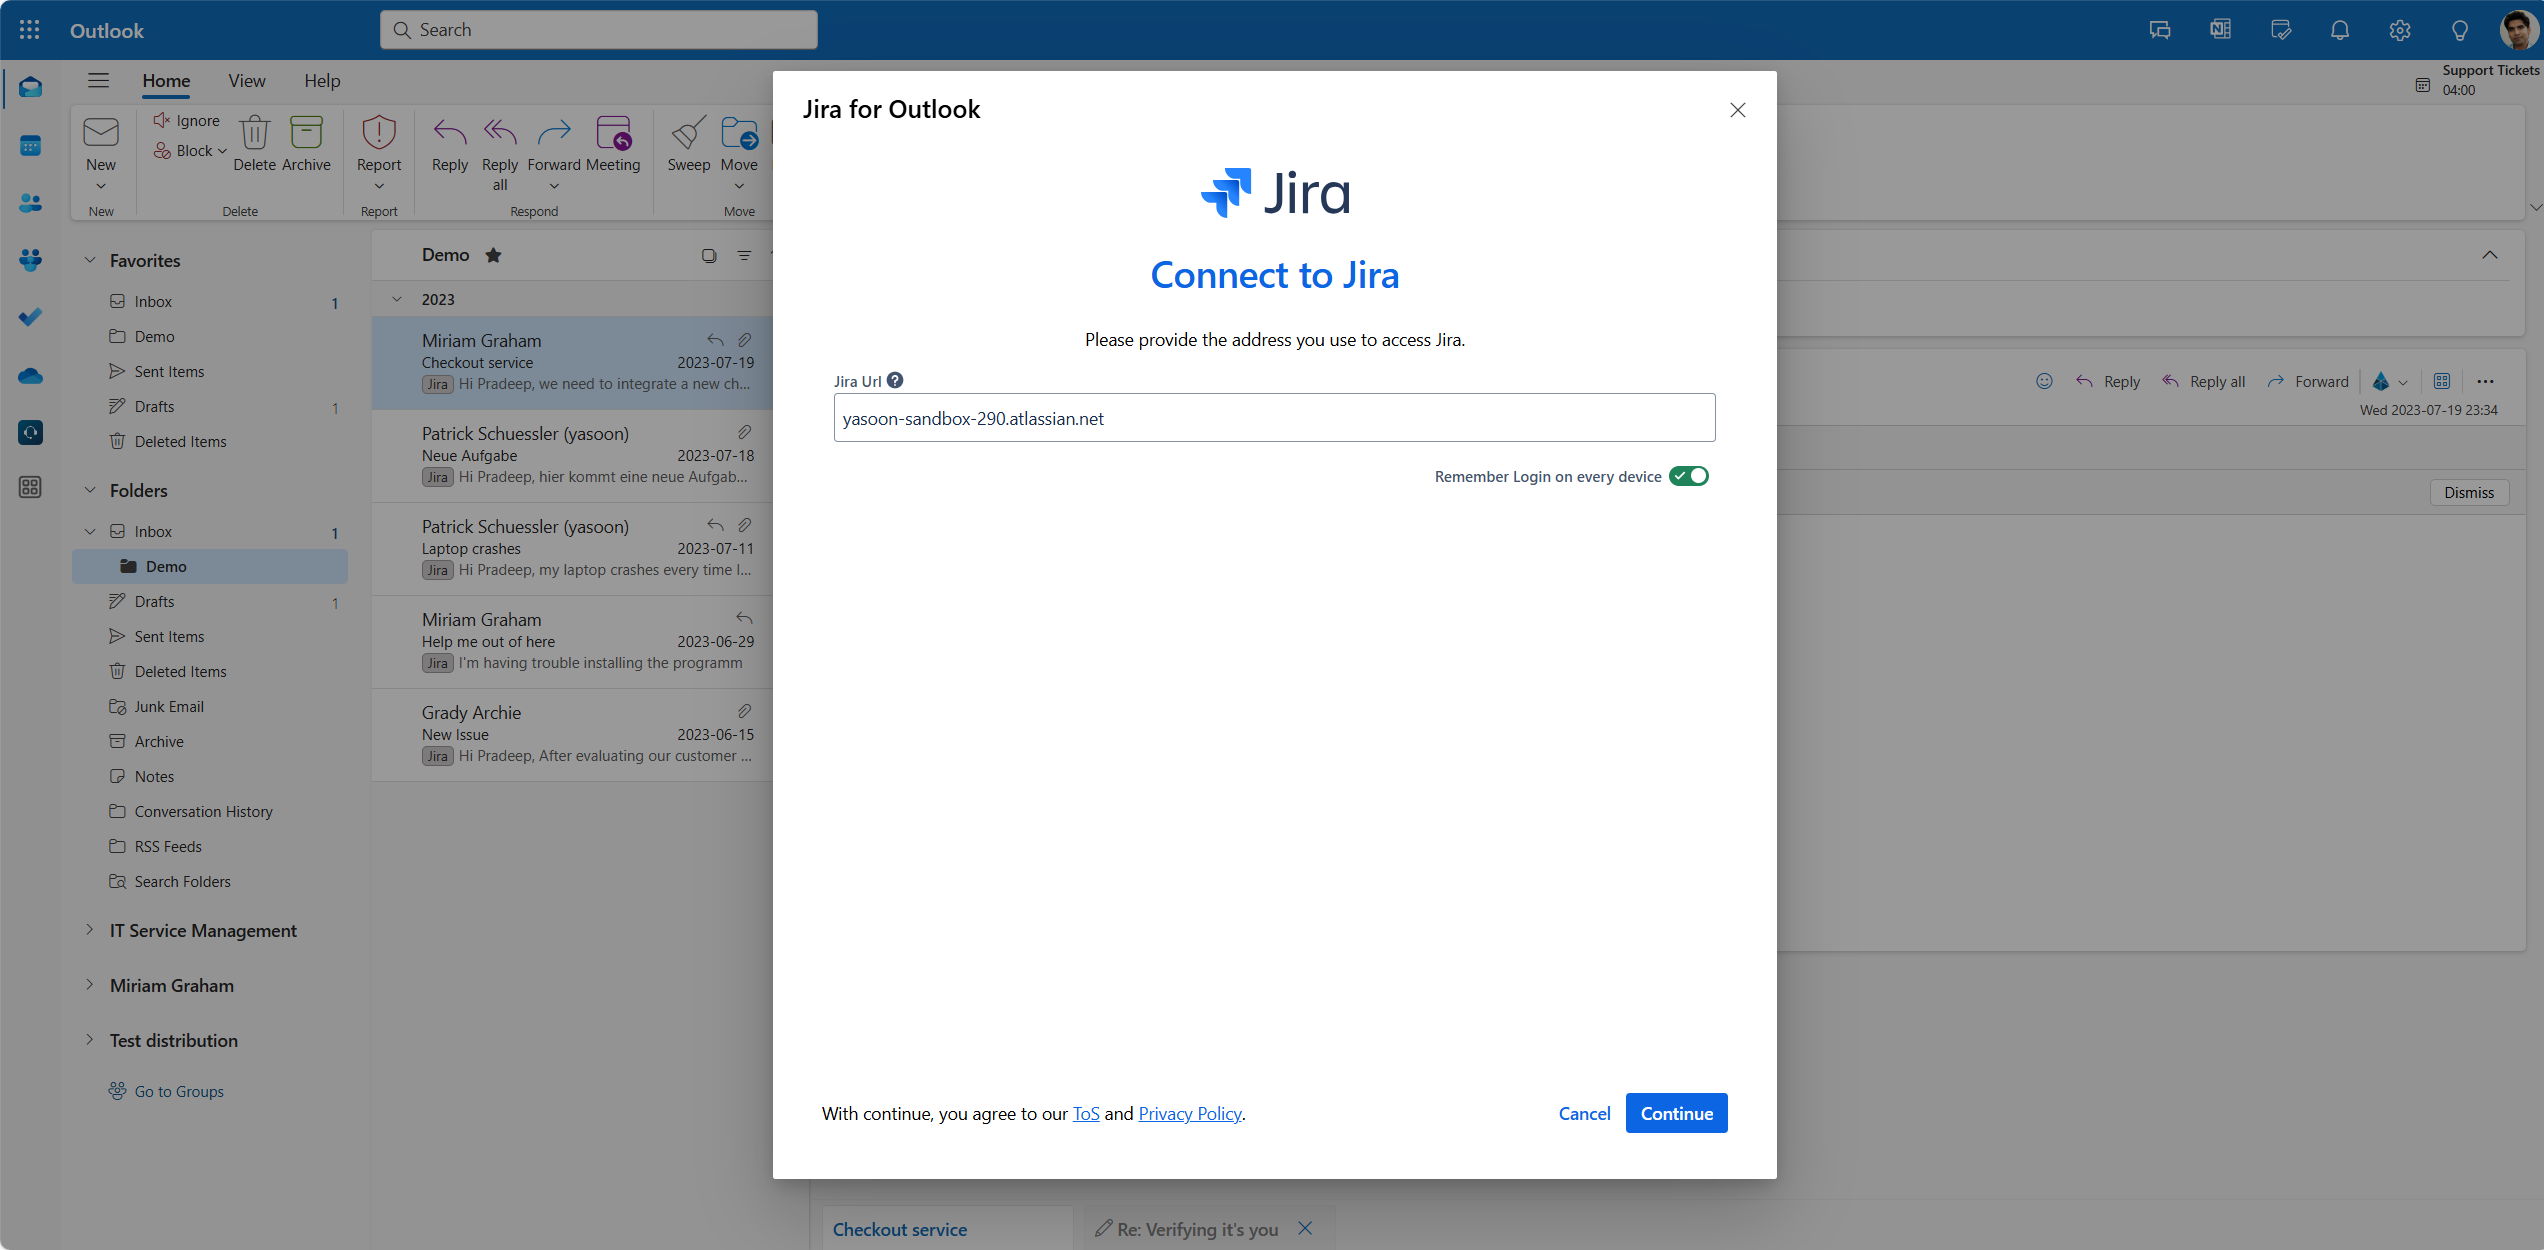
After that, you can now choose the Jira instance to connect your Outlook with. Paste your Jira base URL here and click “Continue.”
Choose a Jira instance
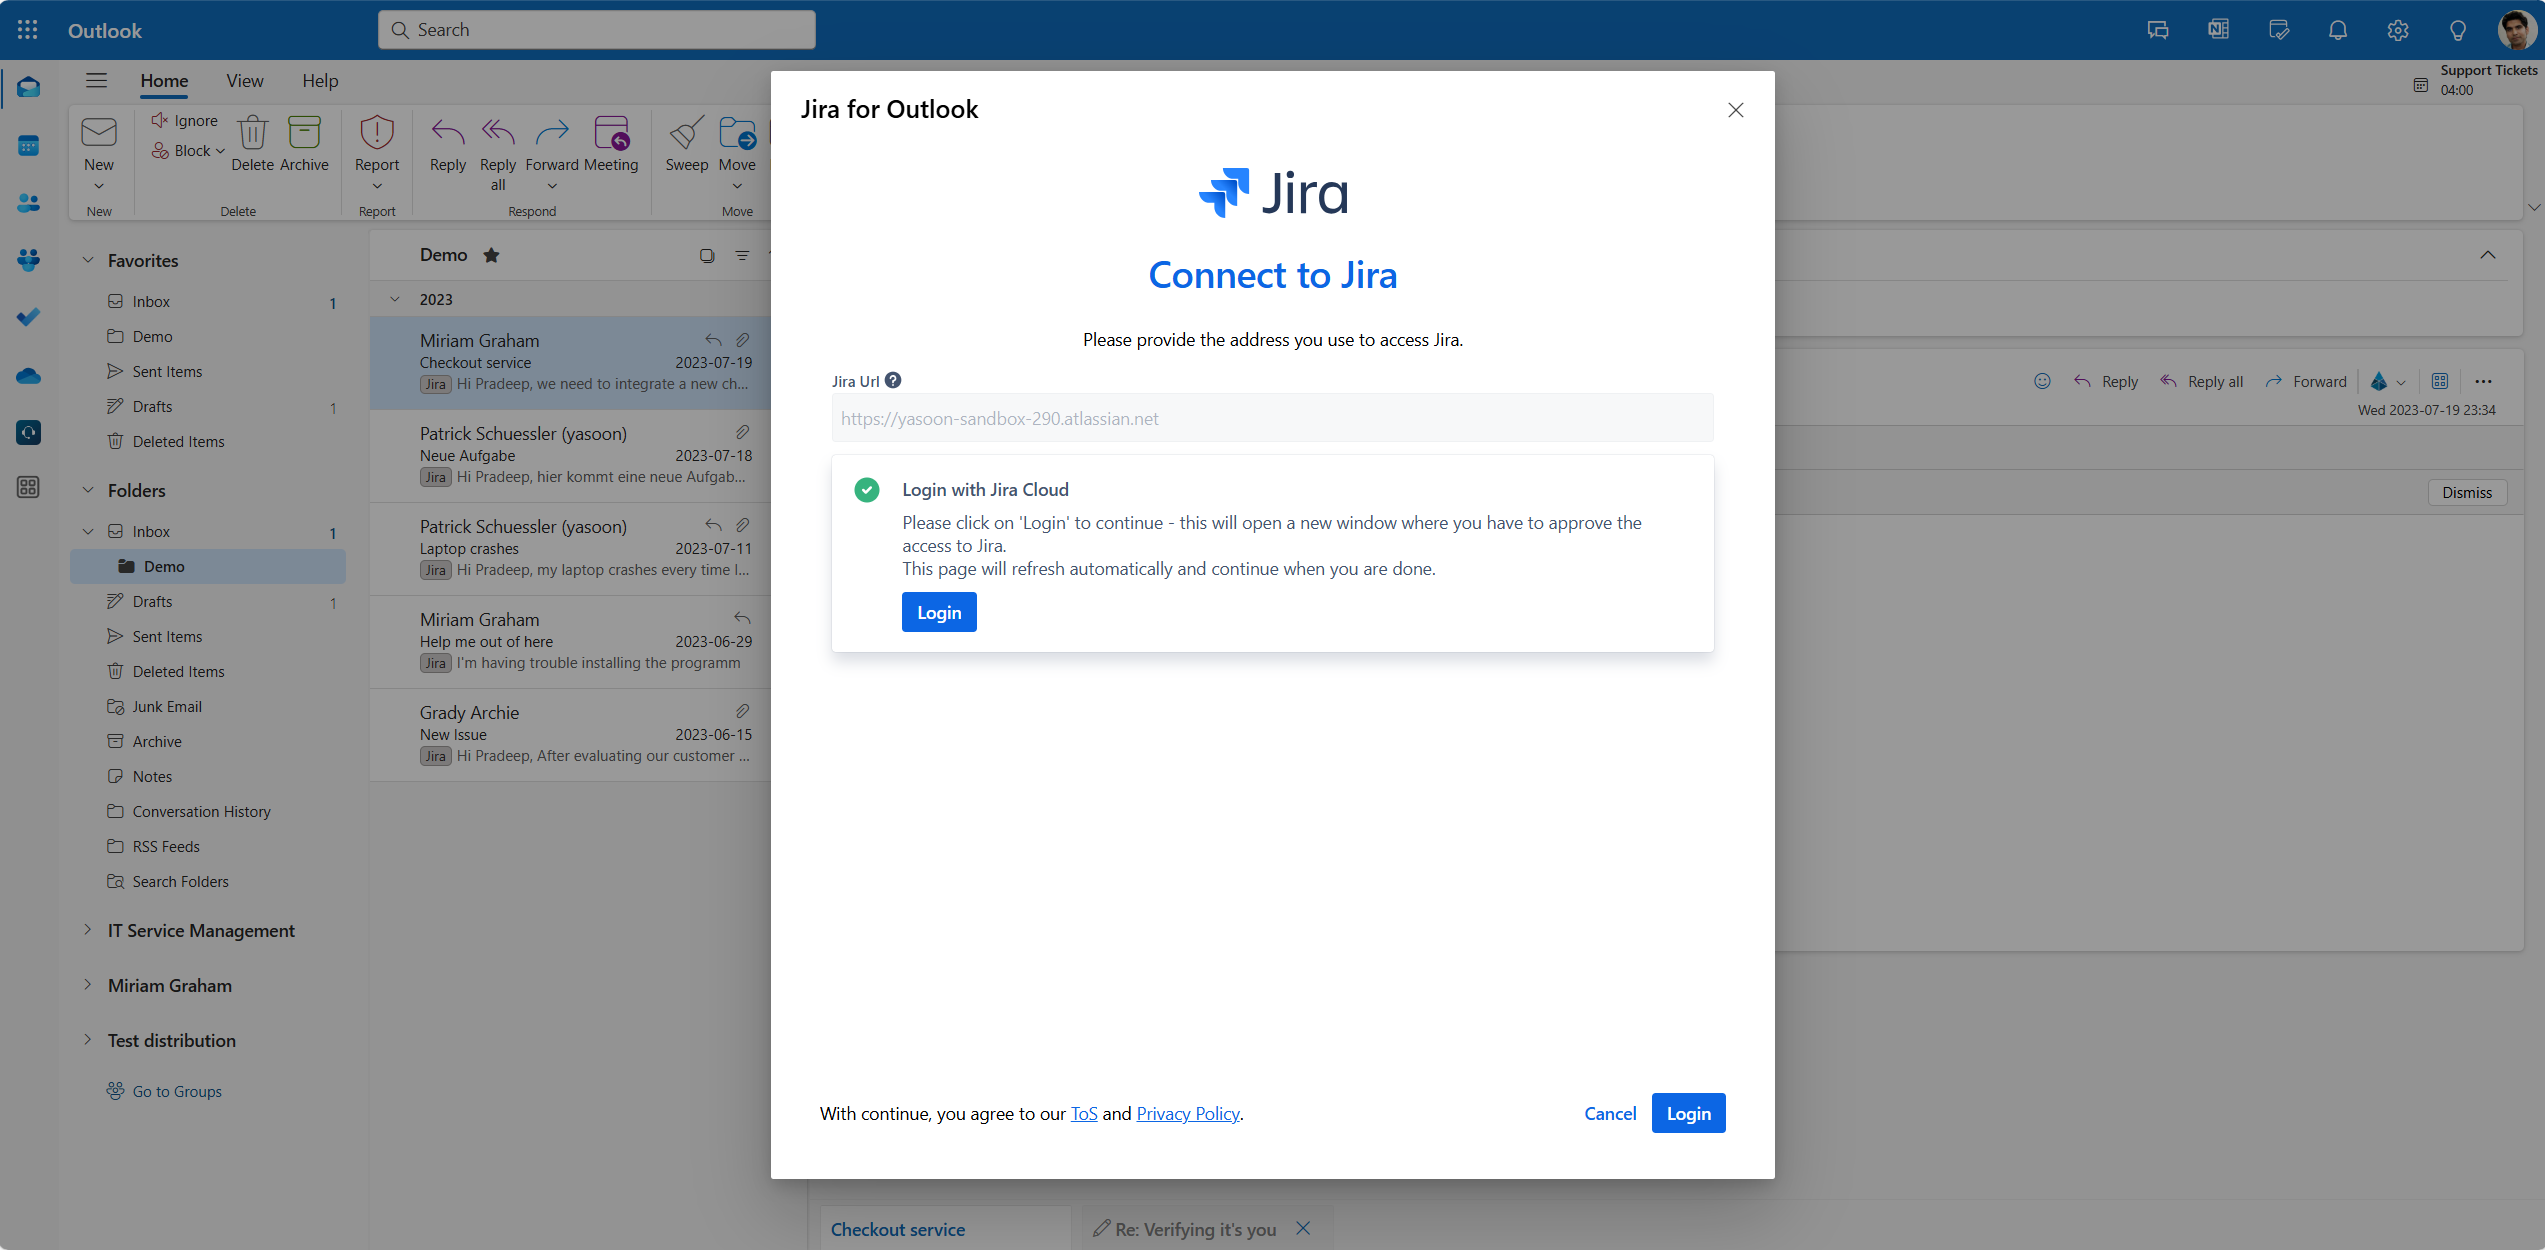
As soon as the instance was found, you can log in.
If you add multiple Jira instances, you must select your instance each time you create a new issue. If you use one Jira instance, it is automatically selected when creating a new issue.

Accept access
To use all email features, you must grant Outlook Email for Jira the necessary read and write access to your data.
Click “Allow” and the app will take you directly to the create issue screen.
Reset the add-in
There might be situations, where you need to reset the add-in by logging out.
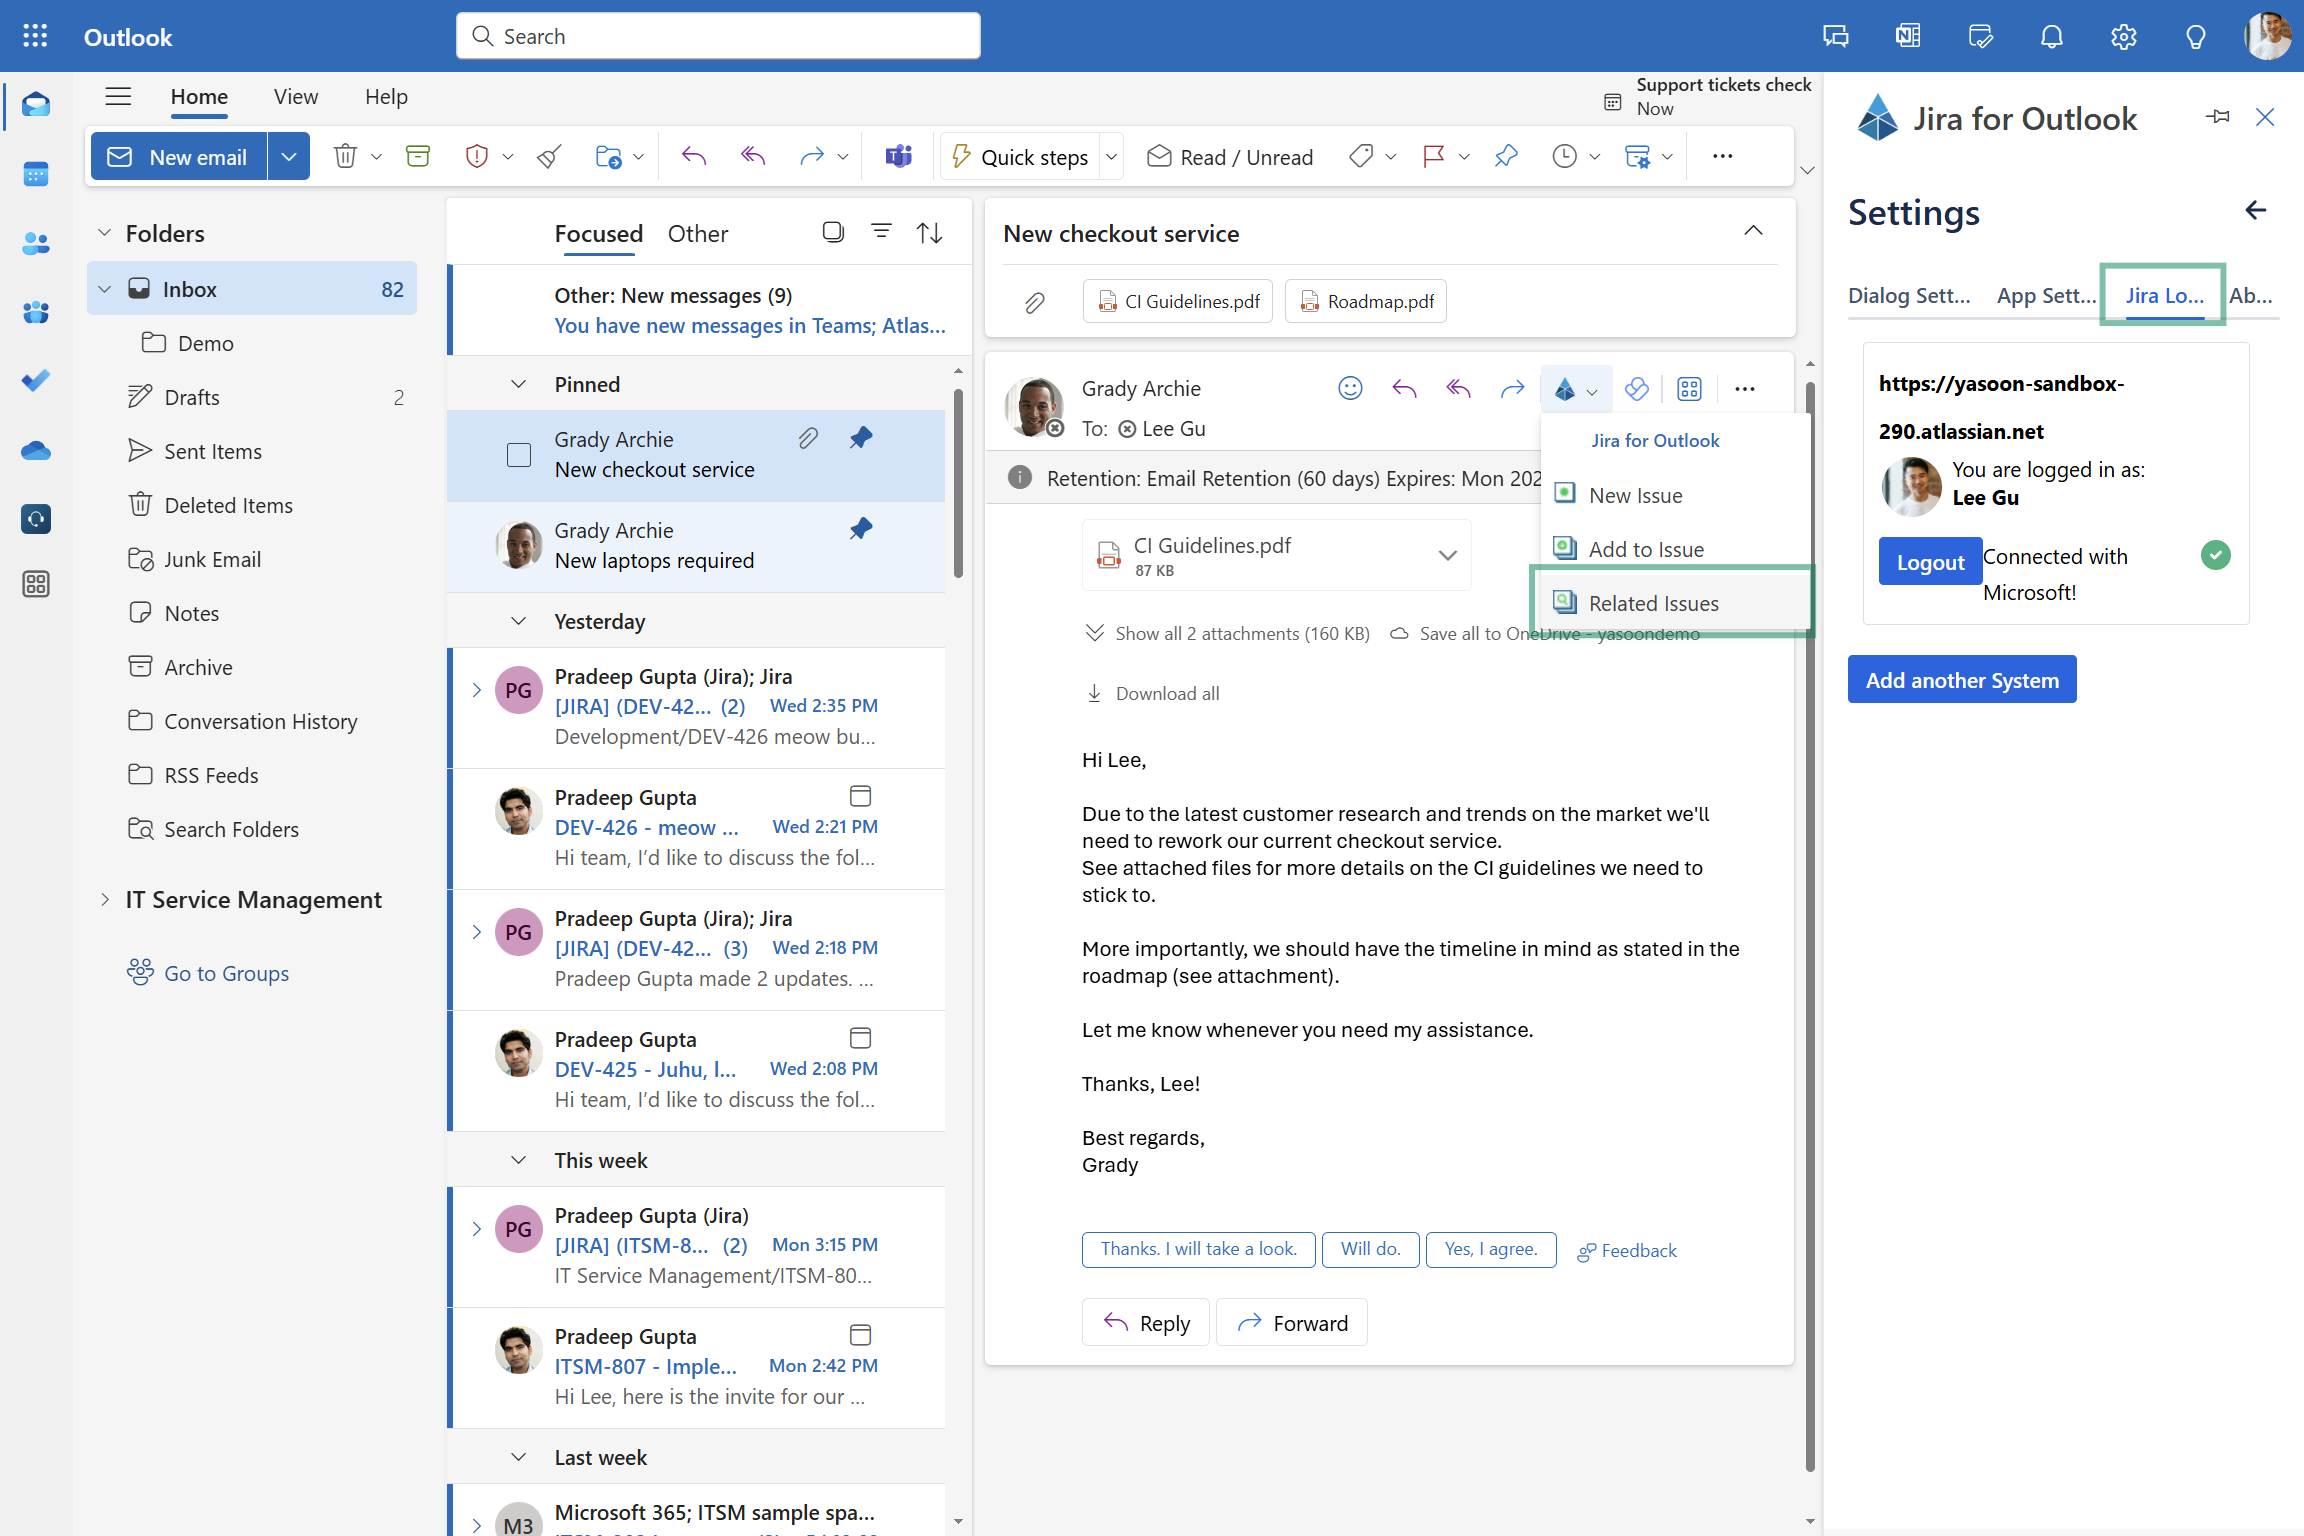
To reset the add-in, open the “Related issues” sidebar and click the ⚙️-icon. Go to “Jira Login” and log out from the current account or all accounts. Click “Forget” to allow the add-in to reset completely, removing all data and closing open windows. You can reopen the add-in and log in with your instance to start fresh.
If you want to switch instances, simply logout from it and login to another listed in your sidebar.