Email: login/logout as a user to Jira Data Center
Once the Jira admin has activated the Email feature in the admin settings, you will be able to access it in Jira in the right top hand corner of your issue. Alternatively, you’ll find it in the drop down of your “more” menu.
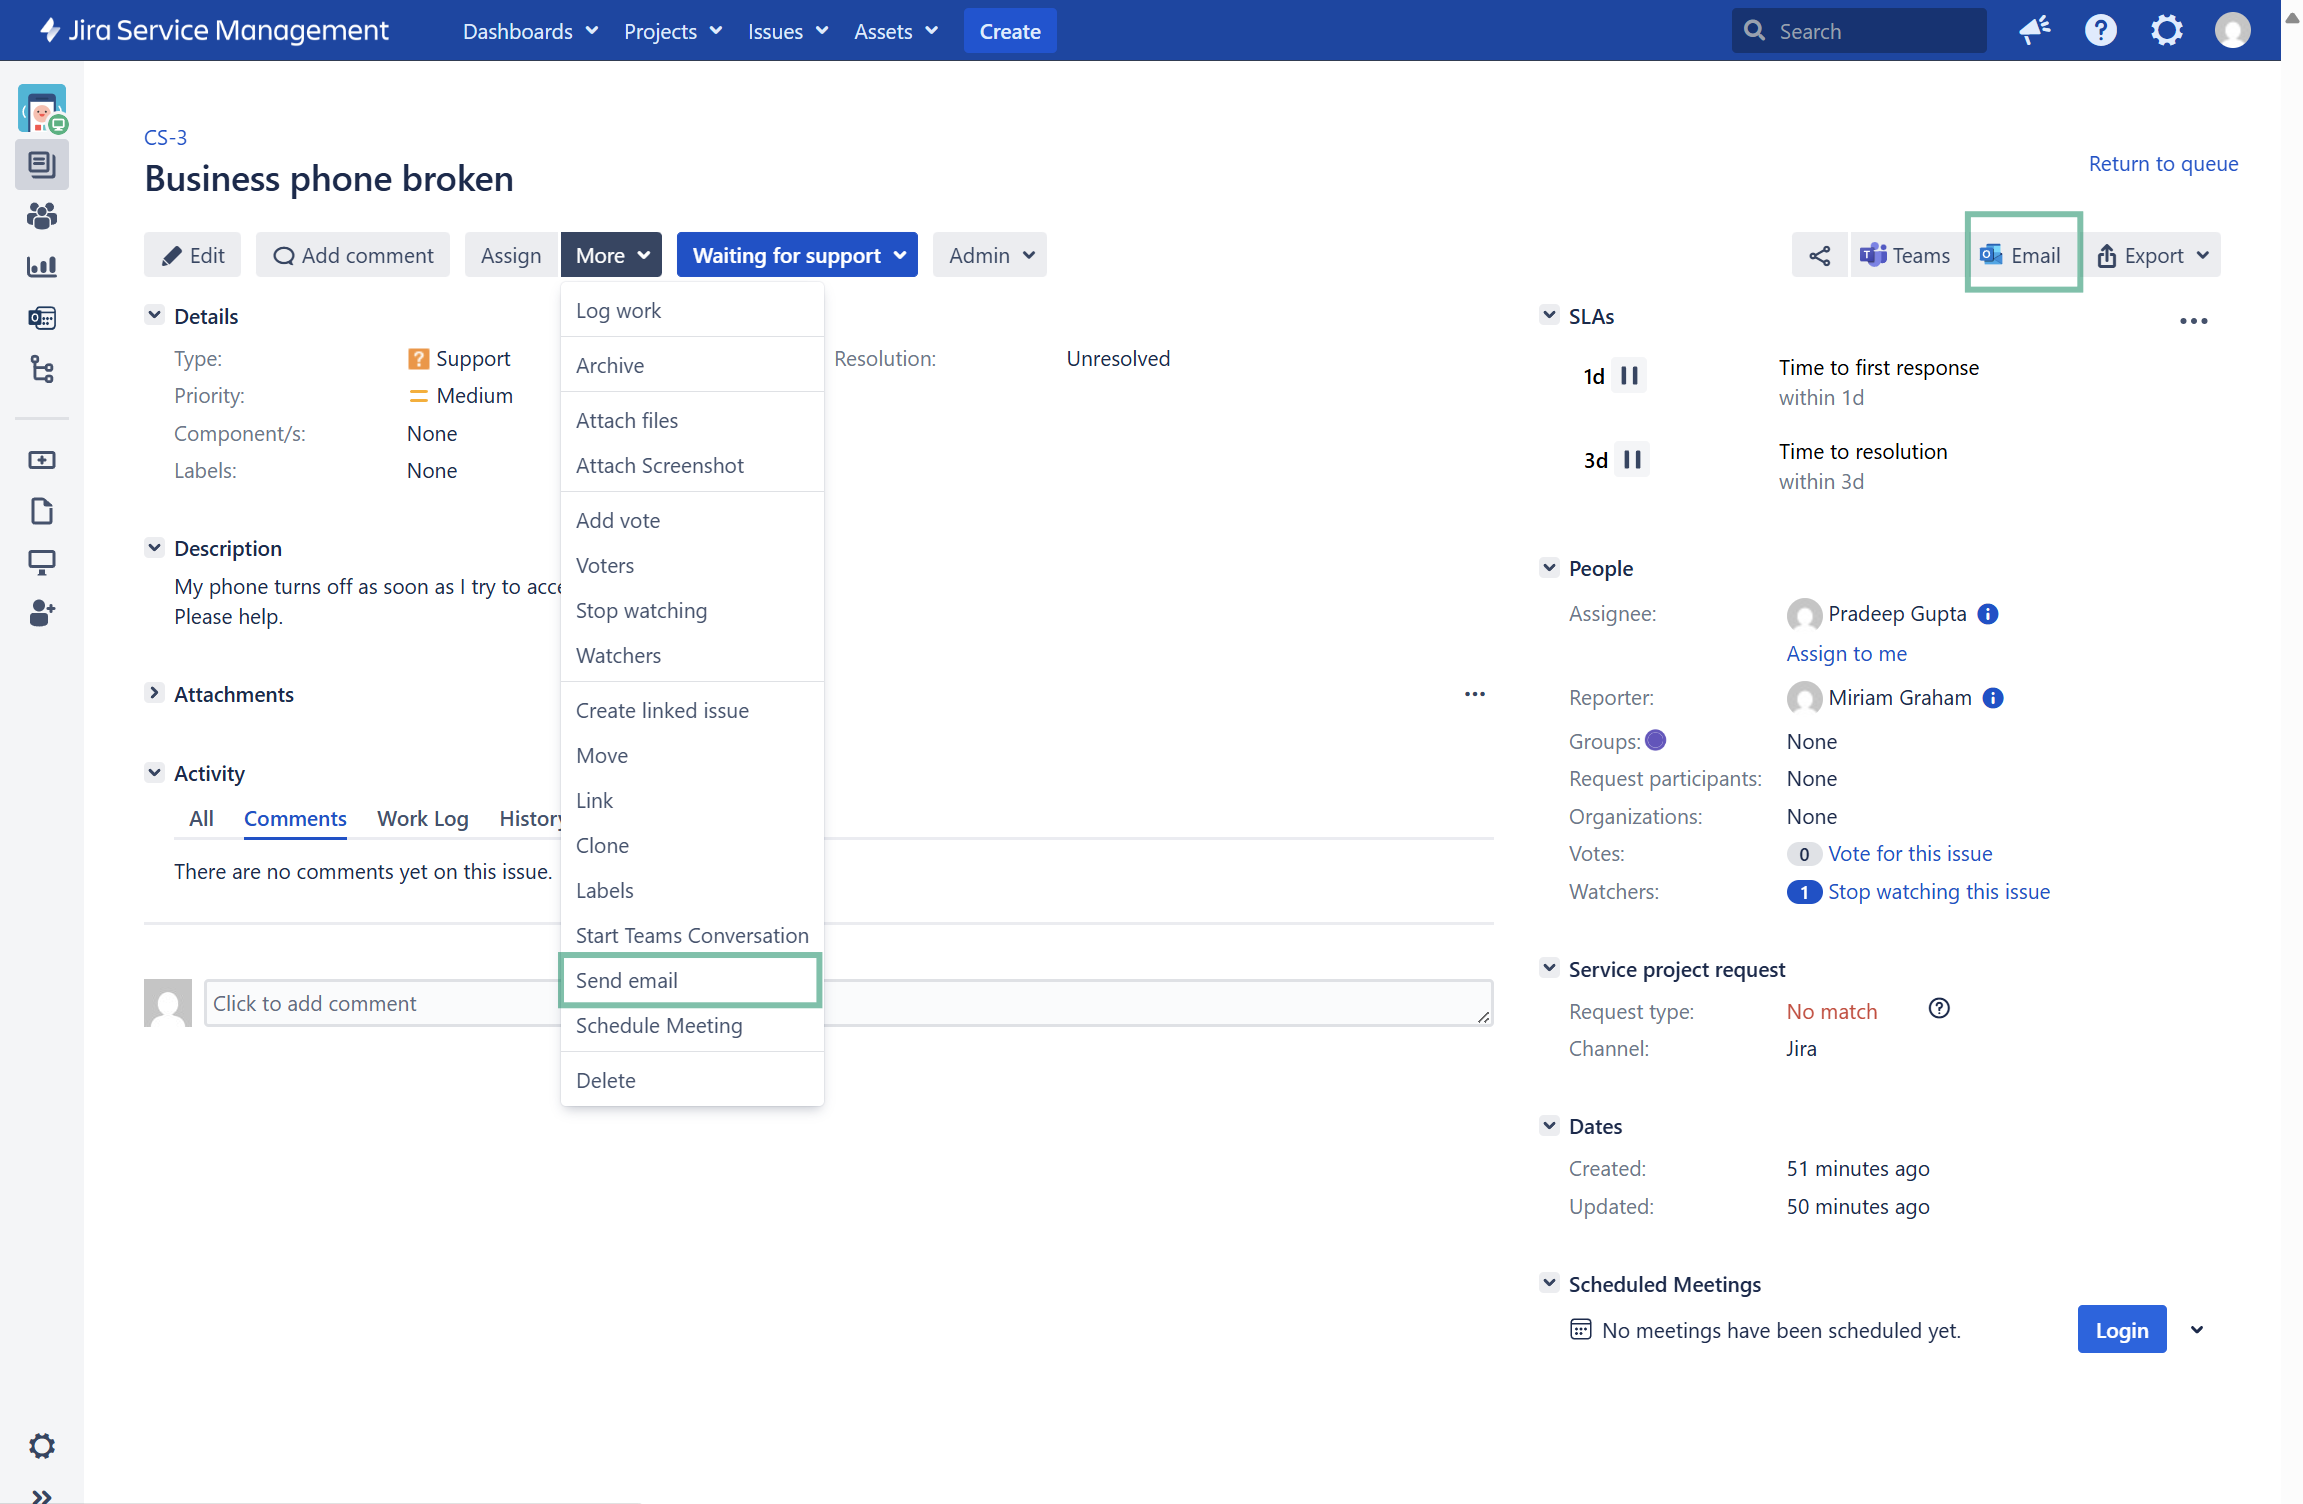
Jira issue view: Access Email integration at two entry points.
To work with emails in Jira, users must first log in to Jira Cloud with their Microsoft account during their initial setup (refer to: Login from Jira).
For Outlook, the same principle applies: users must log in to Jira Cloud using their Microsoft account to access Jira features directly within their Outlook inbox (refer to: Login from Outlook).
Please follow the steps below.
Login from Jira
To access the email integration in your Jira issue for initiating or responding to emails, please log in using your Microsoft account.
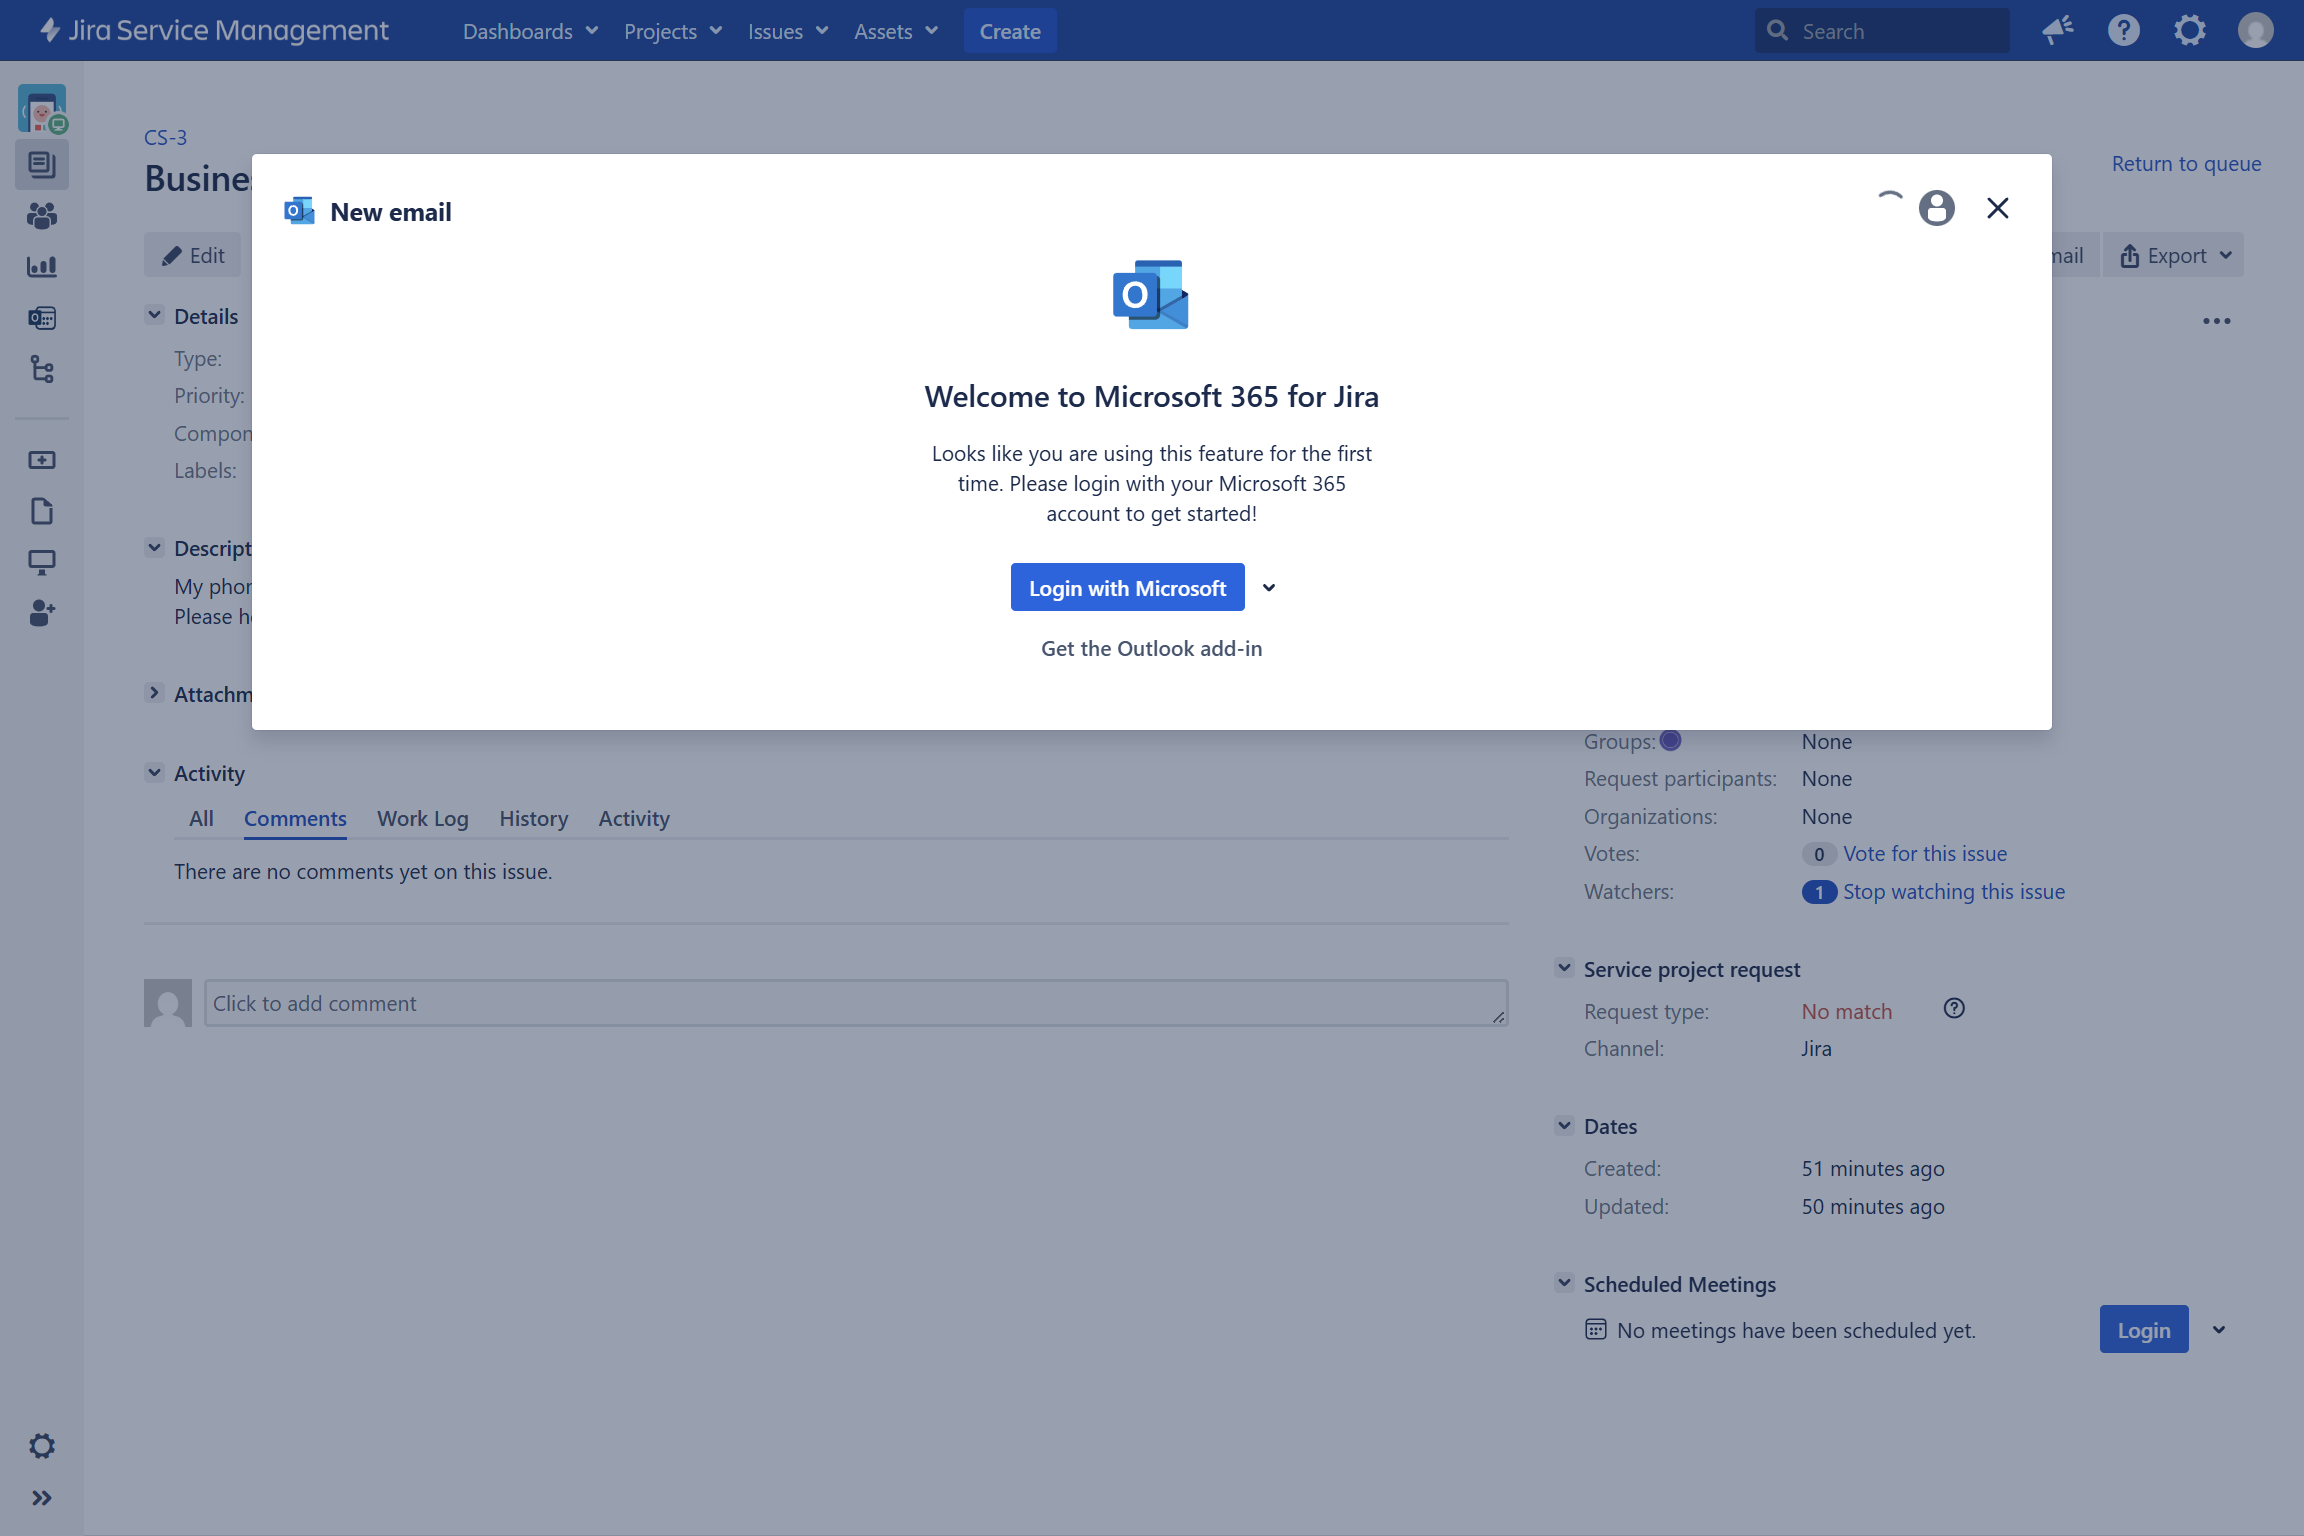
Select the Email feature and a new dialogue opens with a blue “Login button”. Click on it to proceed.
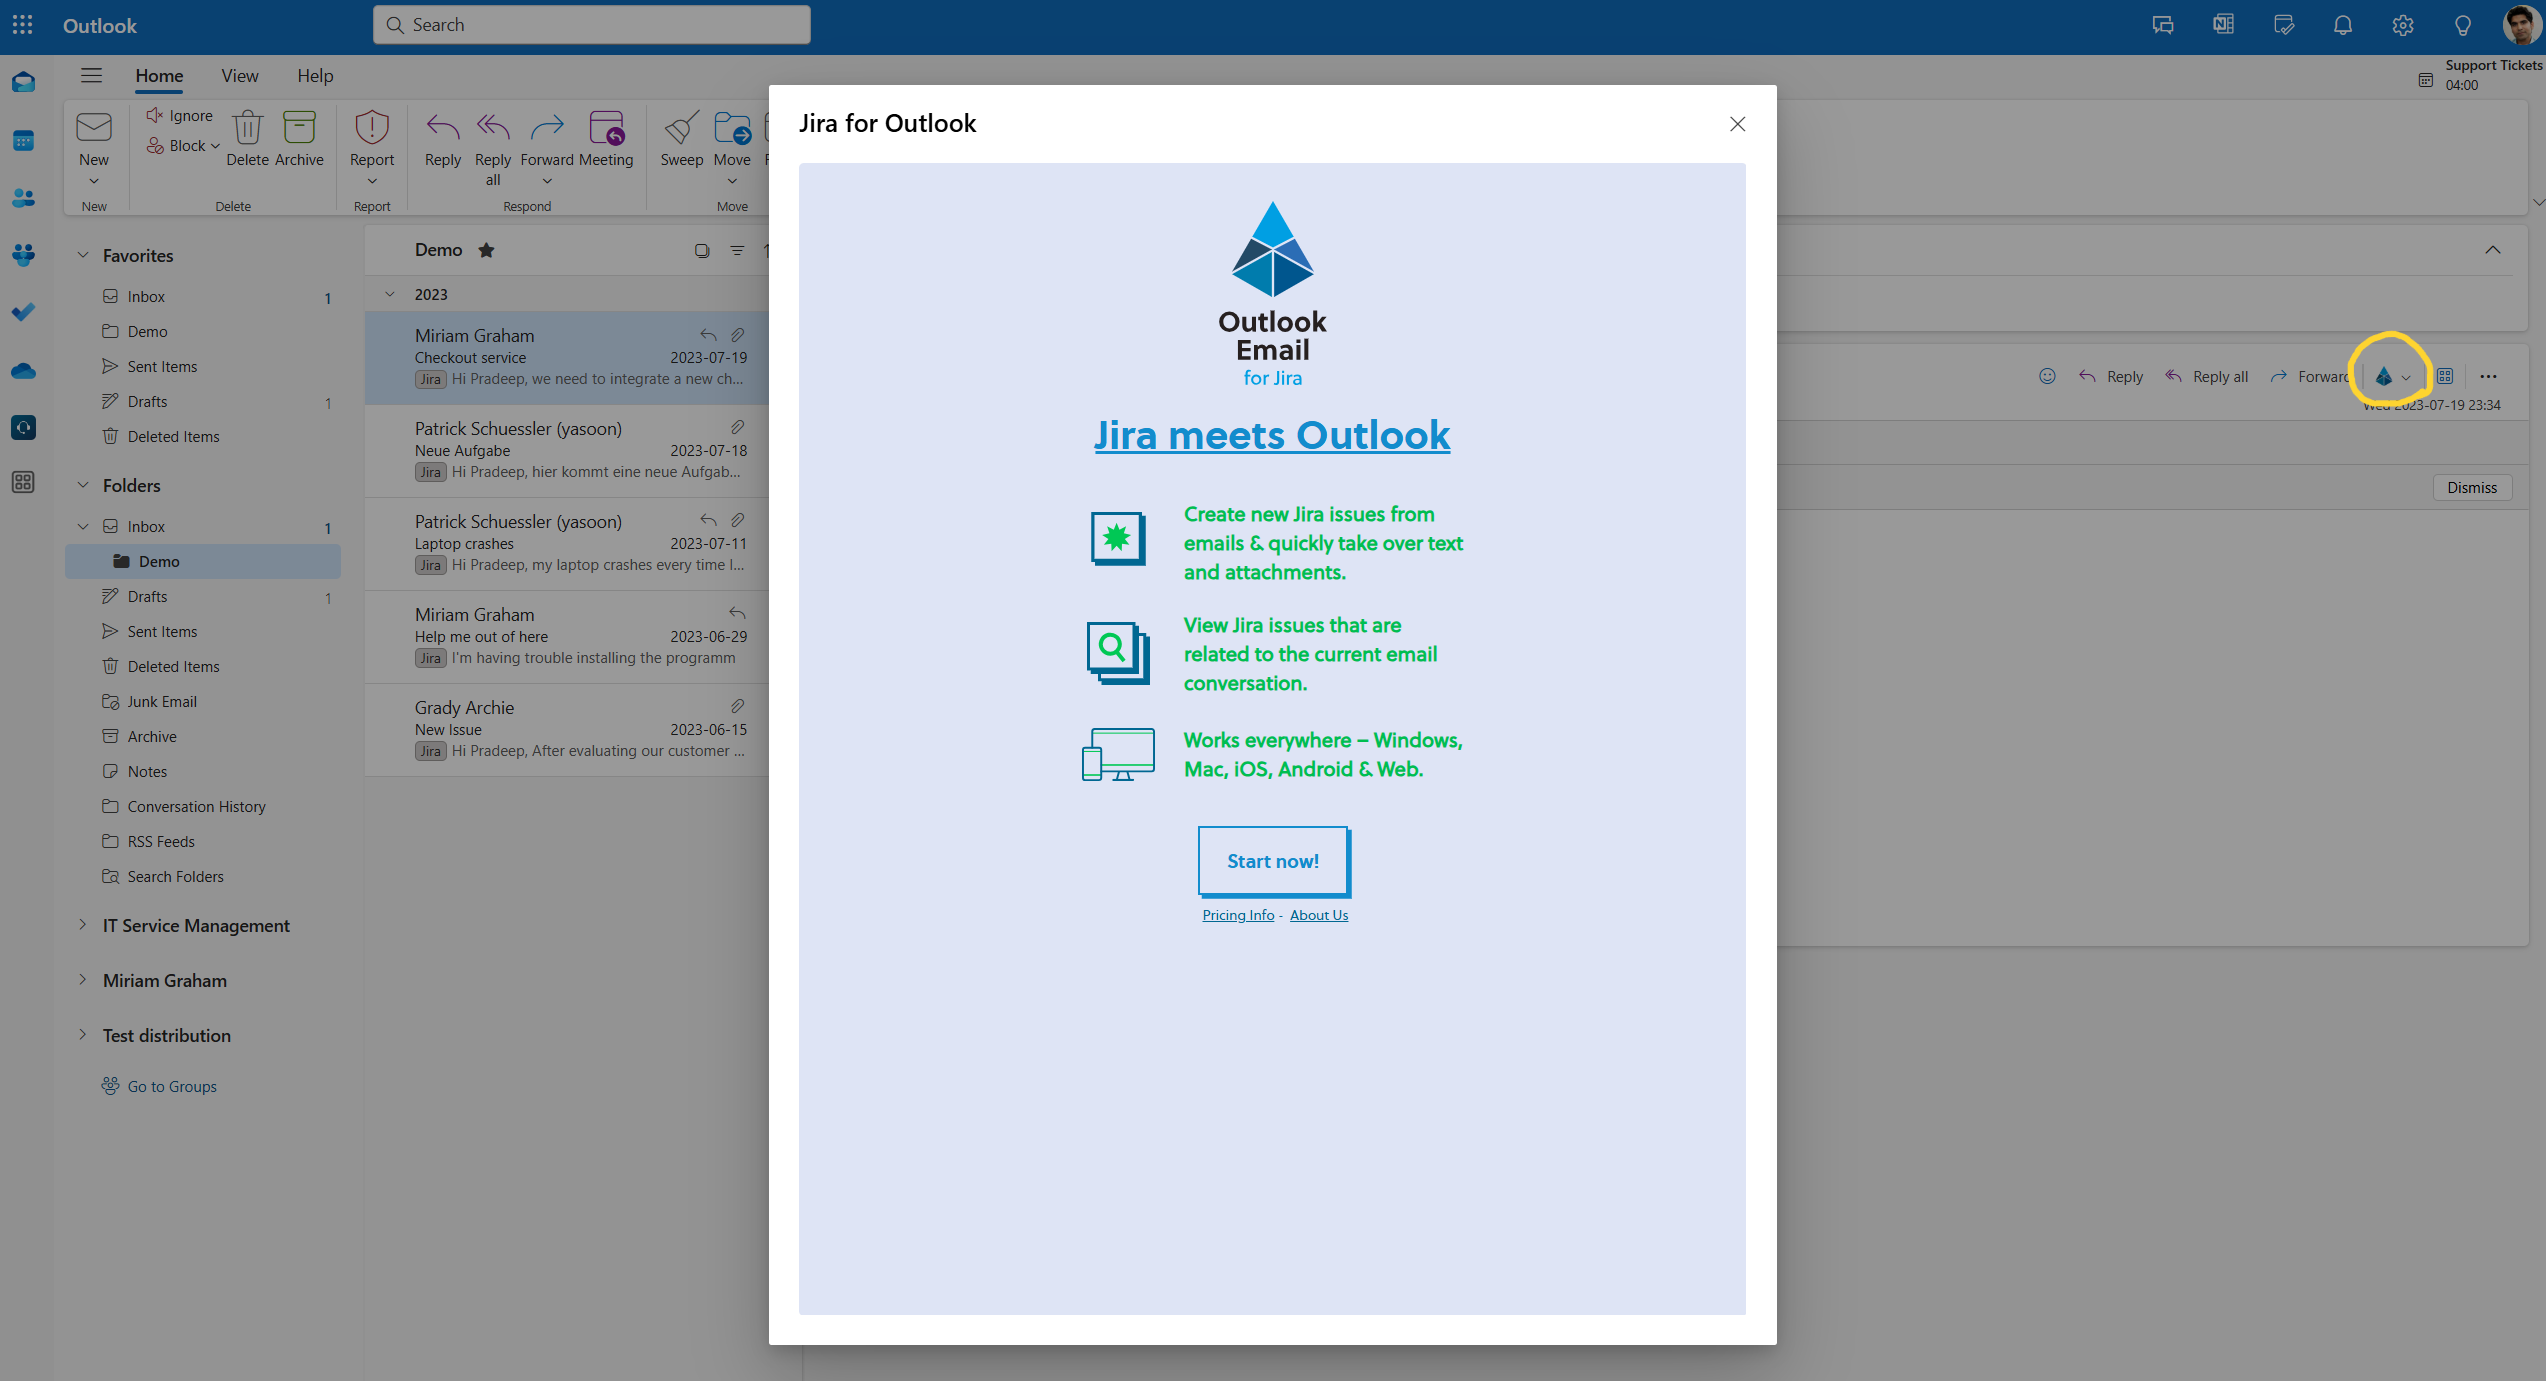
If not installed it yet, the dialogue will guide you through the download of the Outlook add-in. It is essential for using Jira features right within your Outlook inbox: learn more!
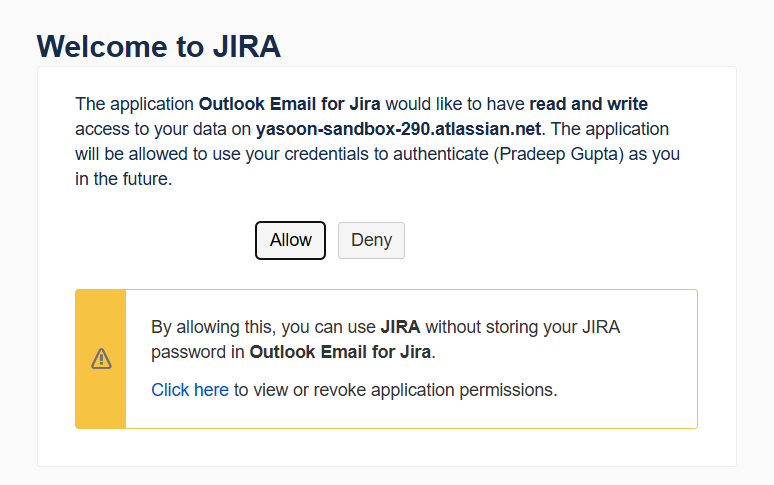
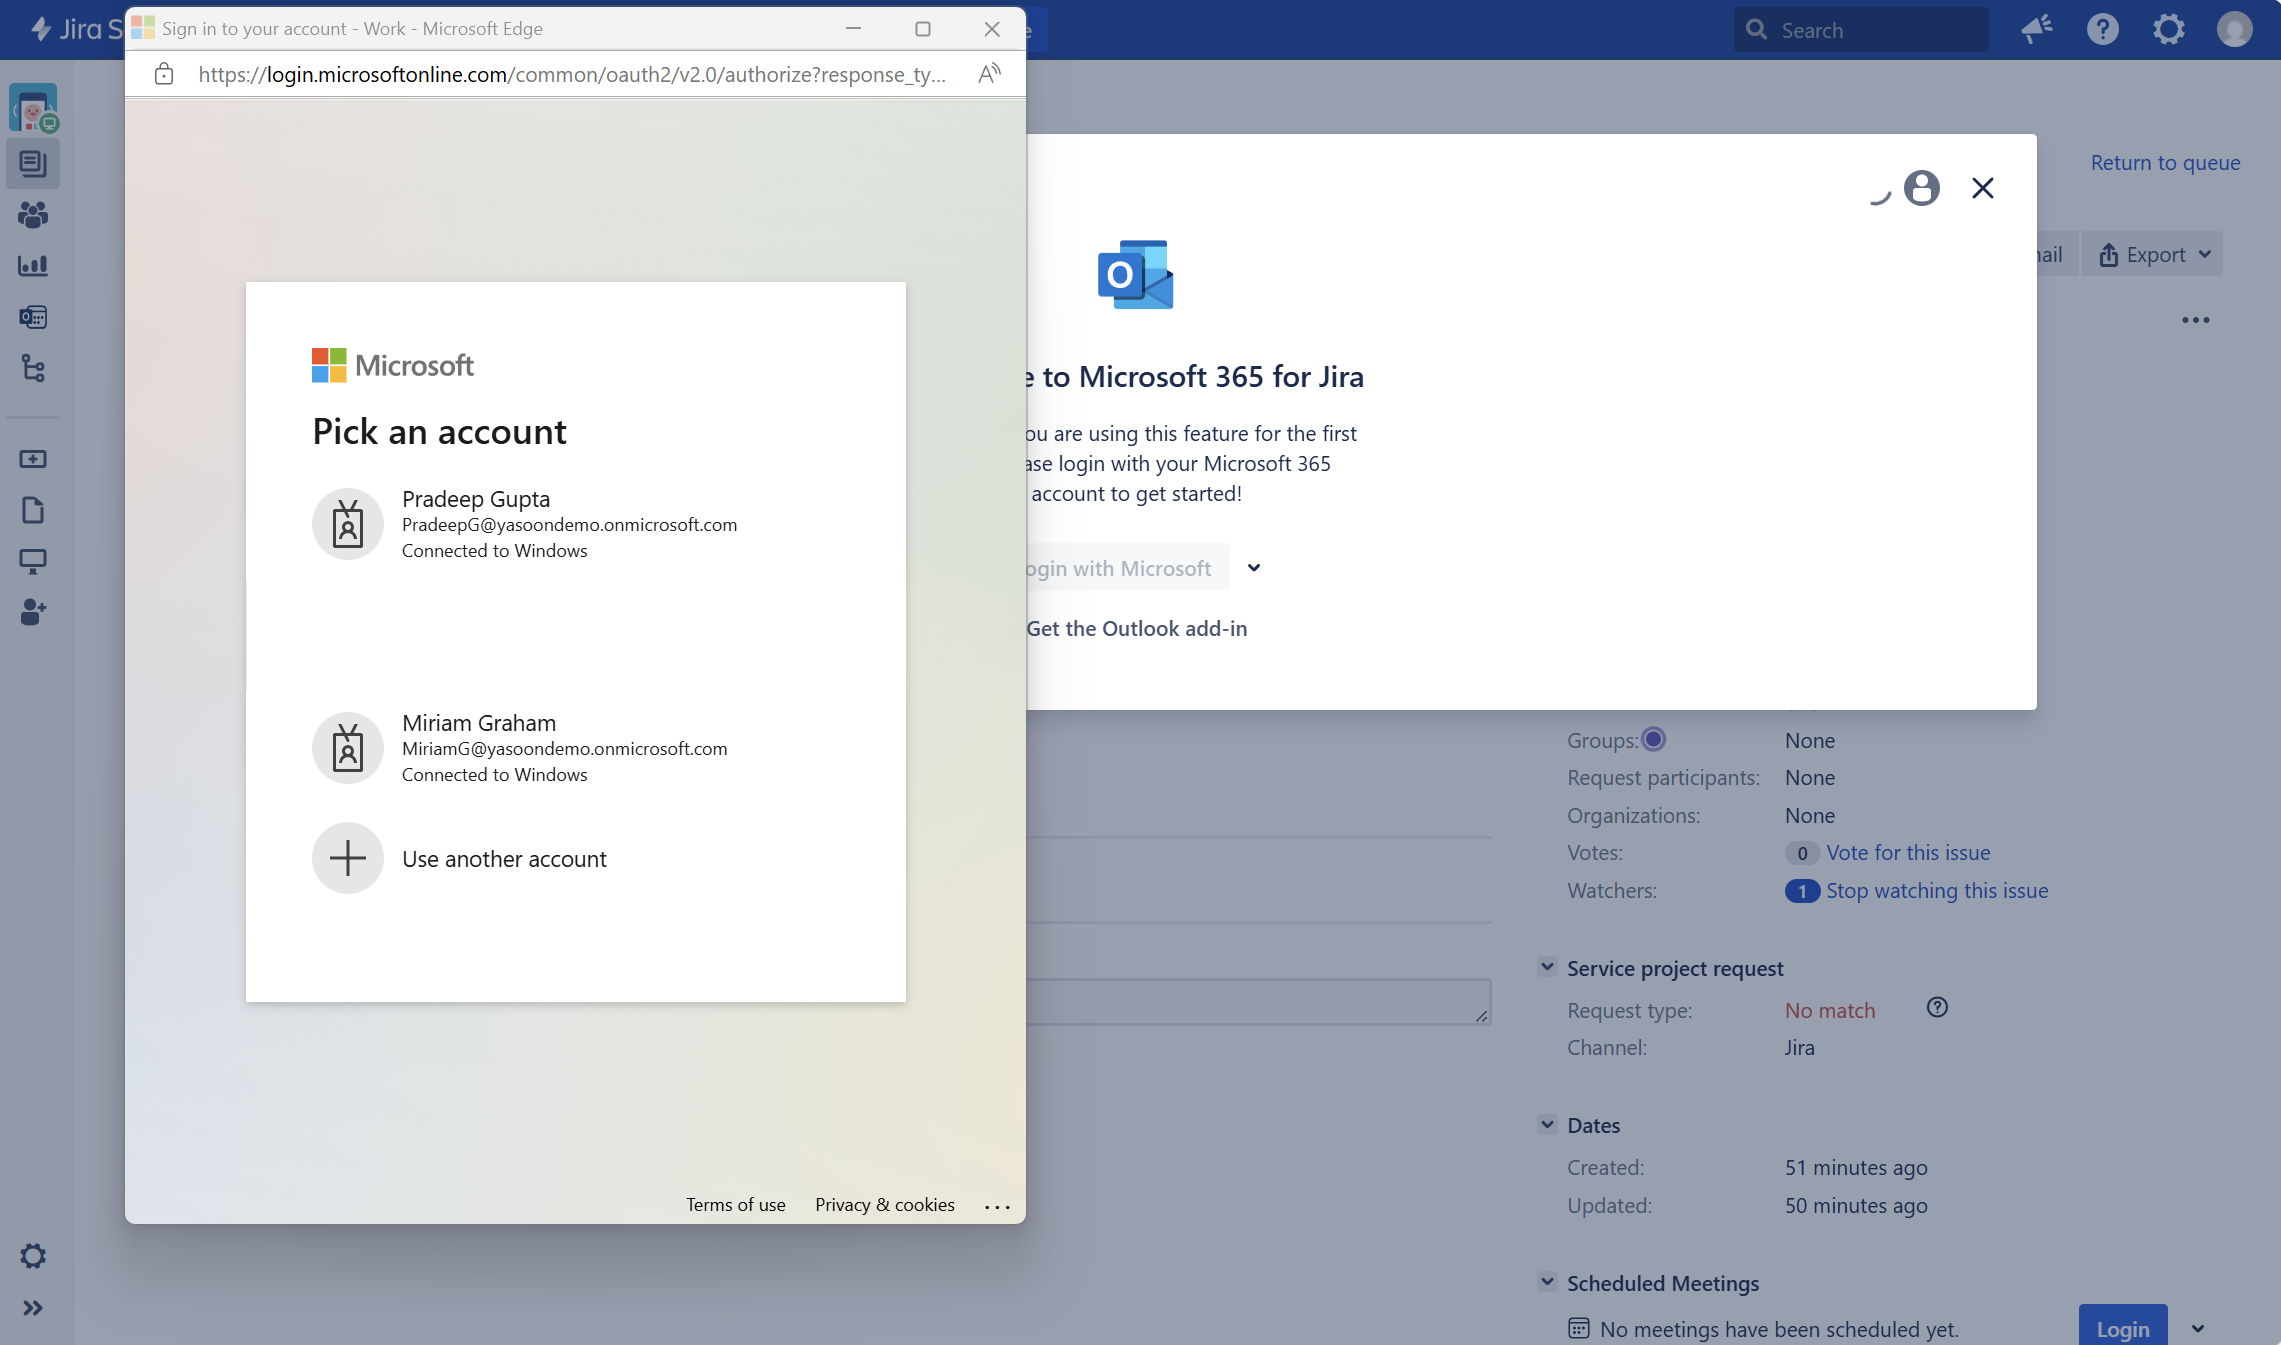
Another new dialogue appears. Select the account you wish to log in with, or opt for a different account, if it is not already listed. “Allow” for the app to read and write data on your instance to work properly.
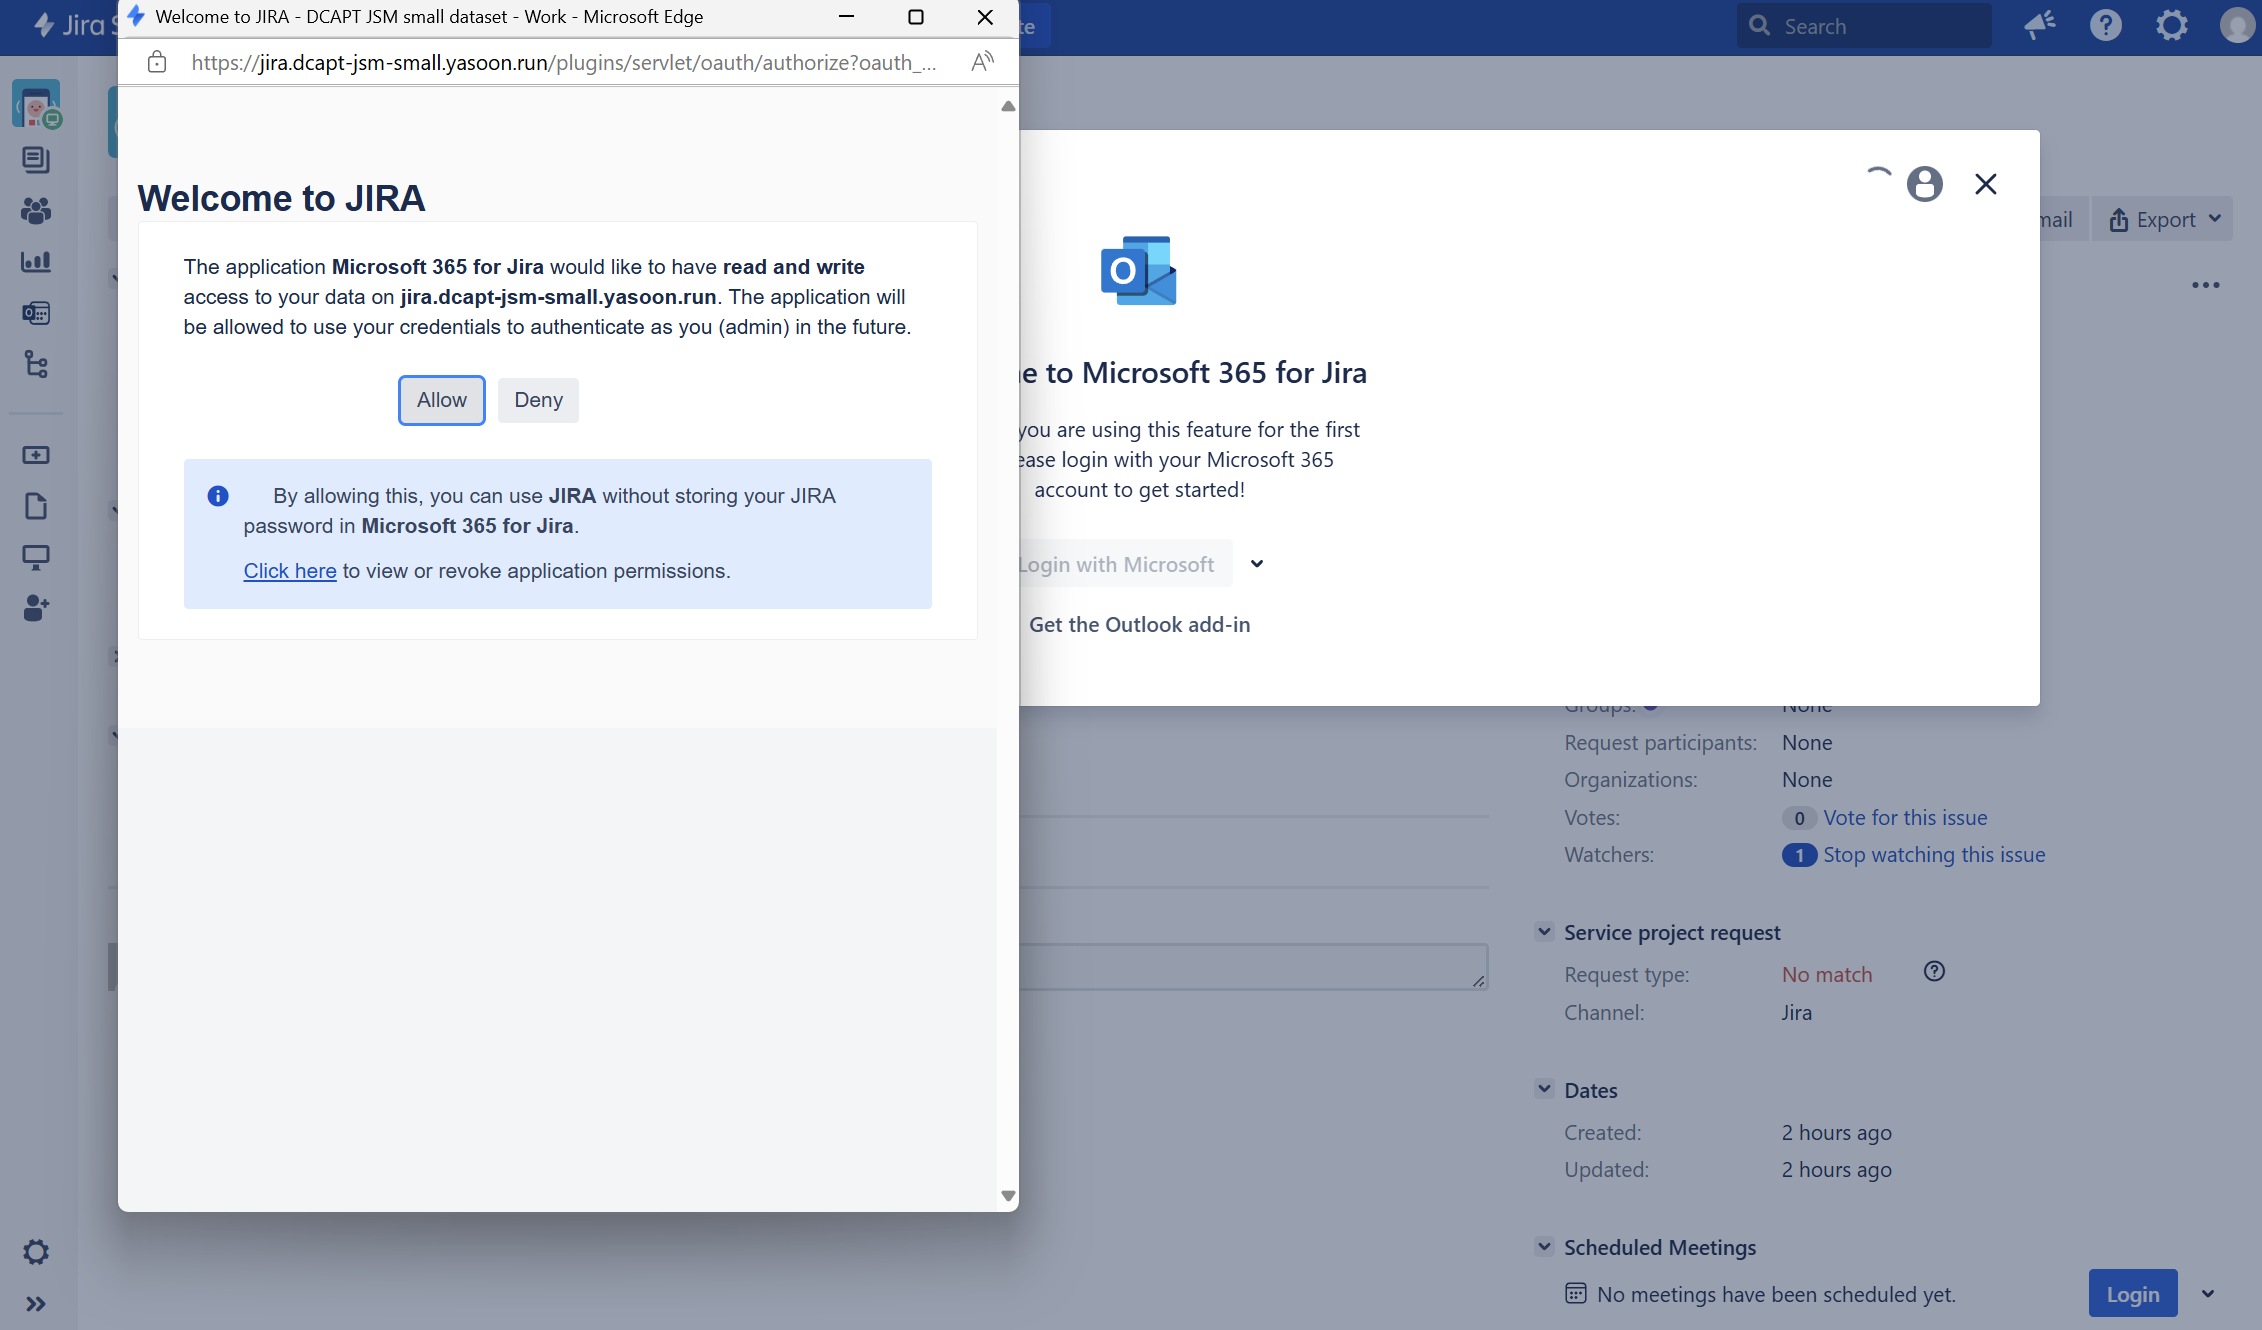
After logging in, the app will automatically refresh Jira, allowing immediate use of the Email feature.
Login from Outlook
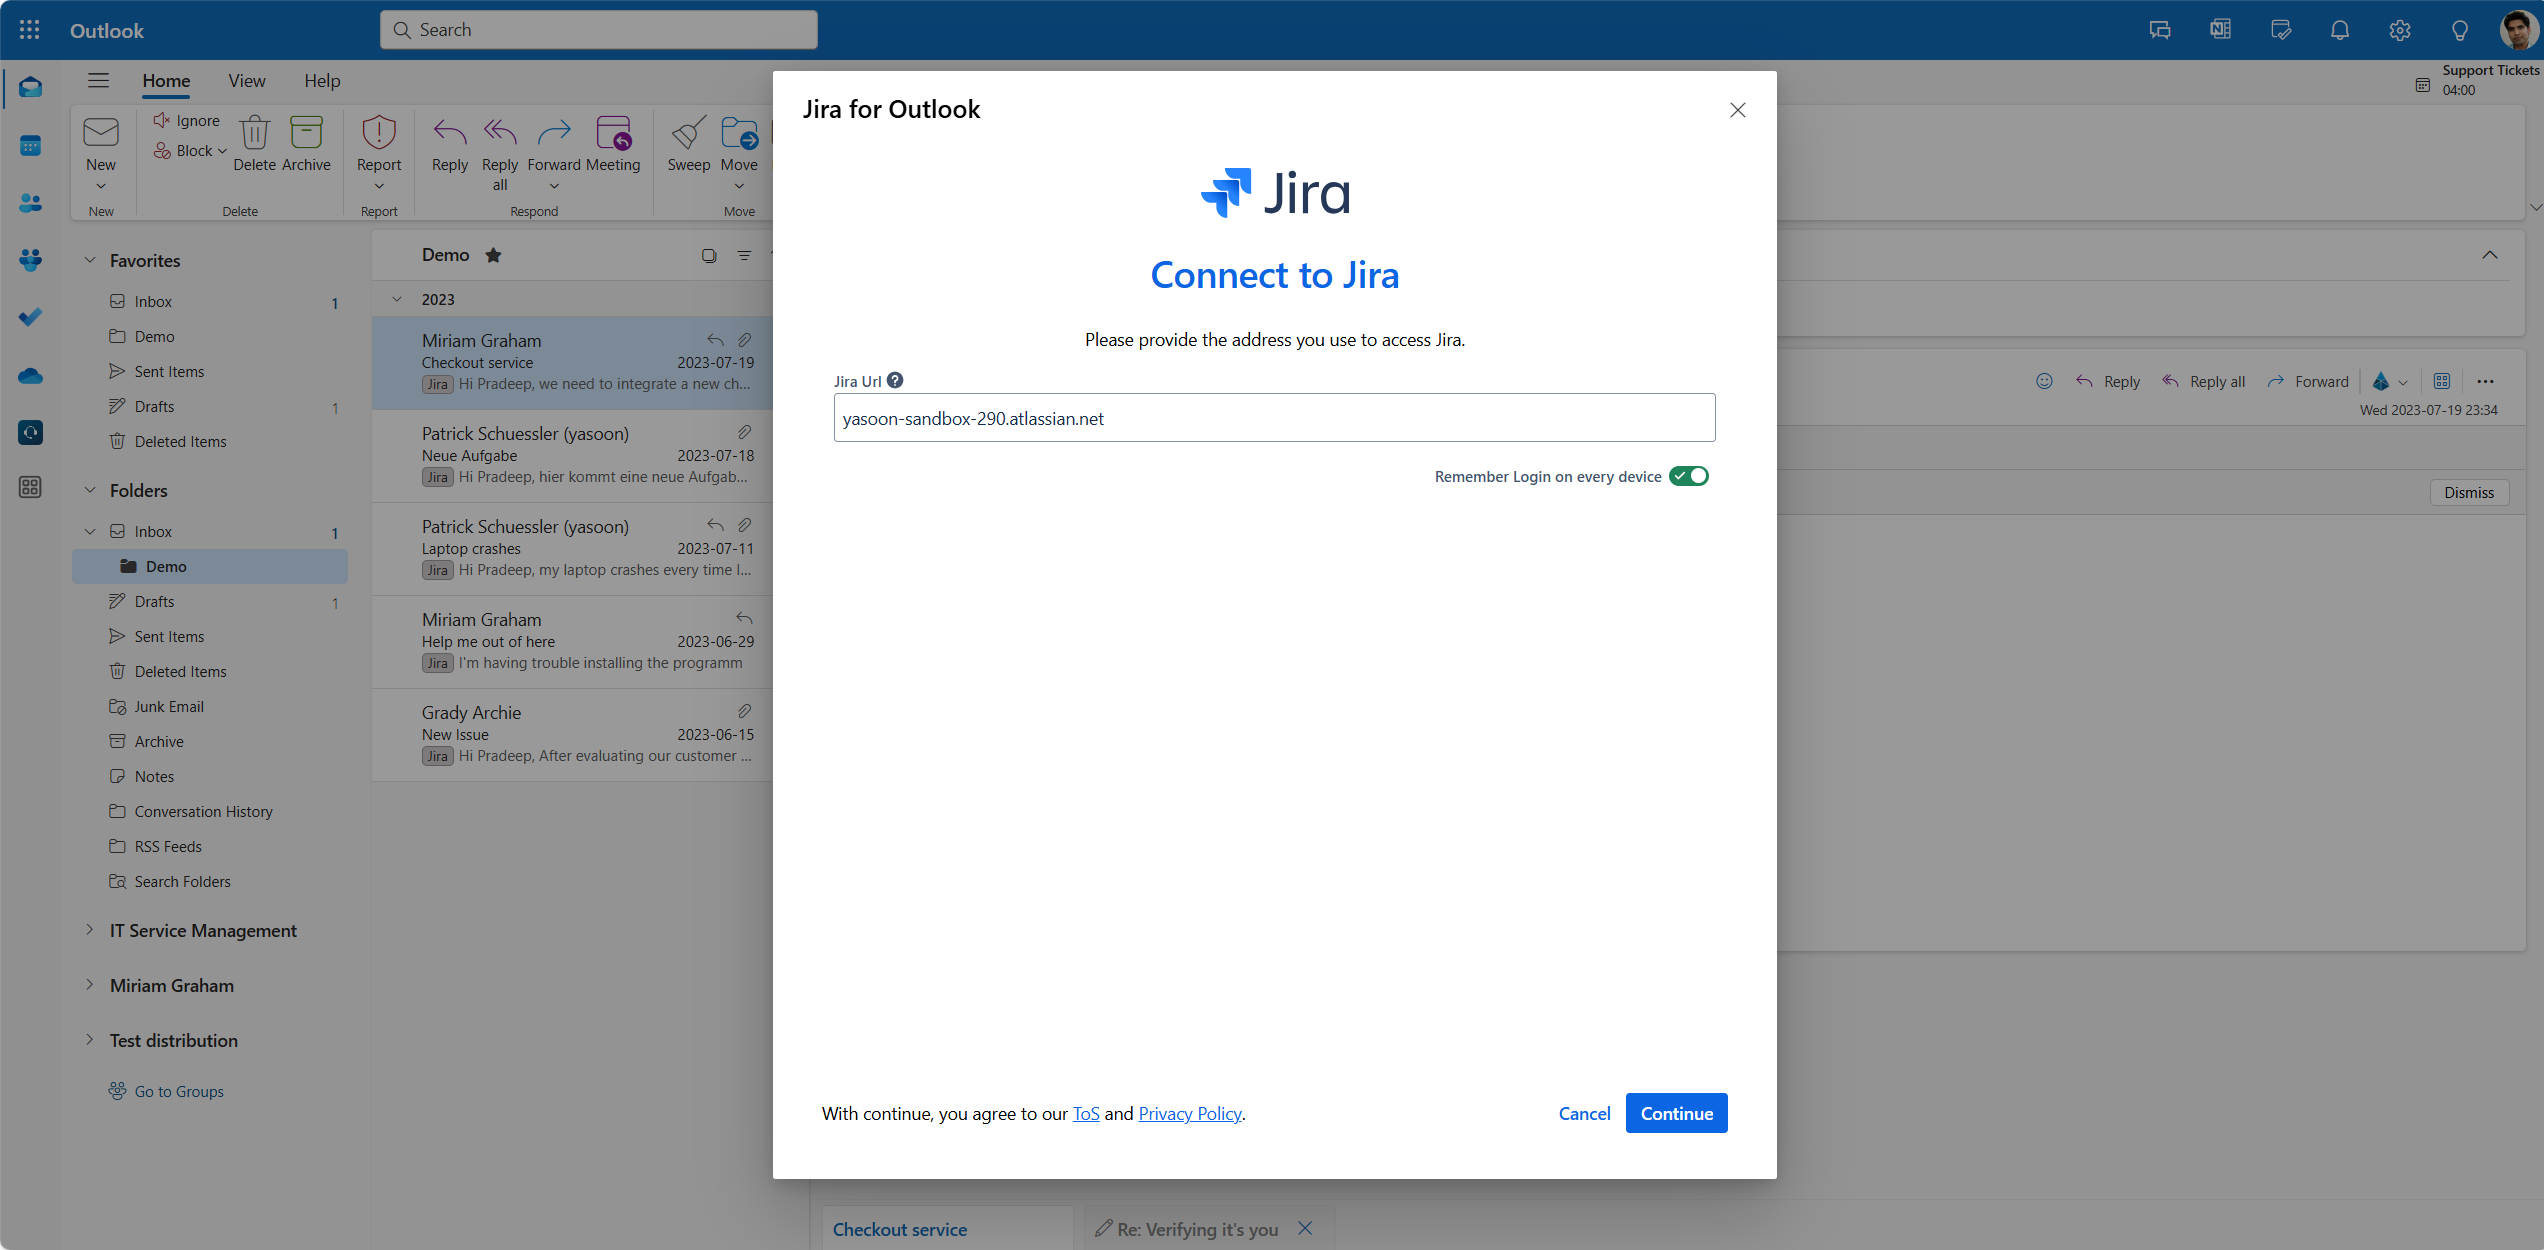
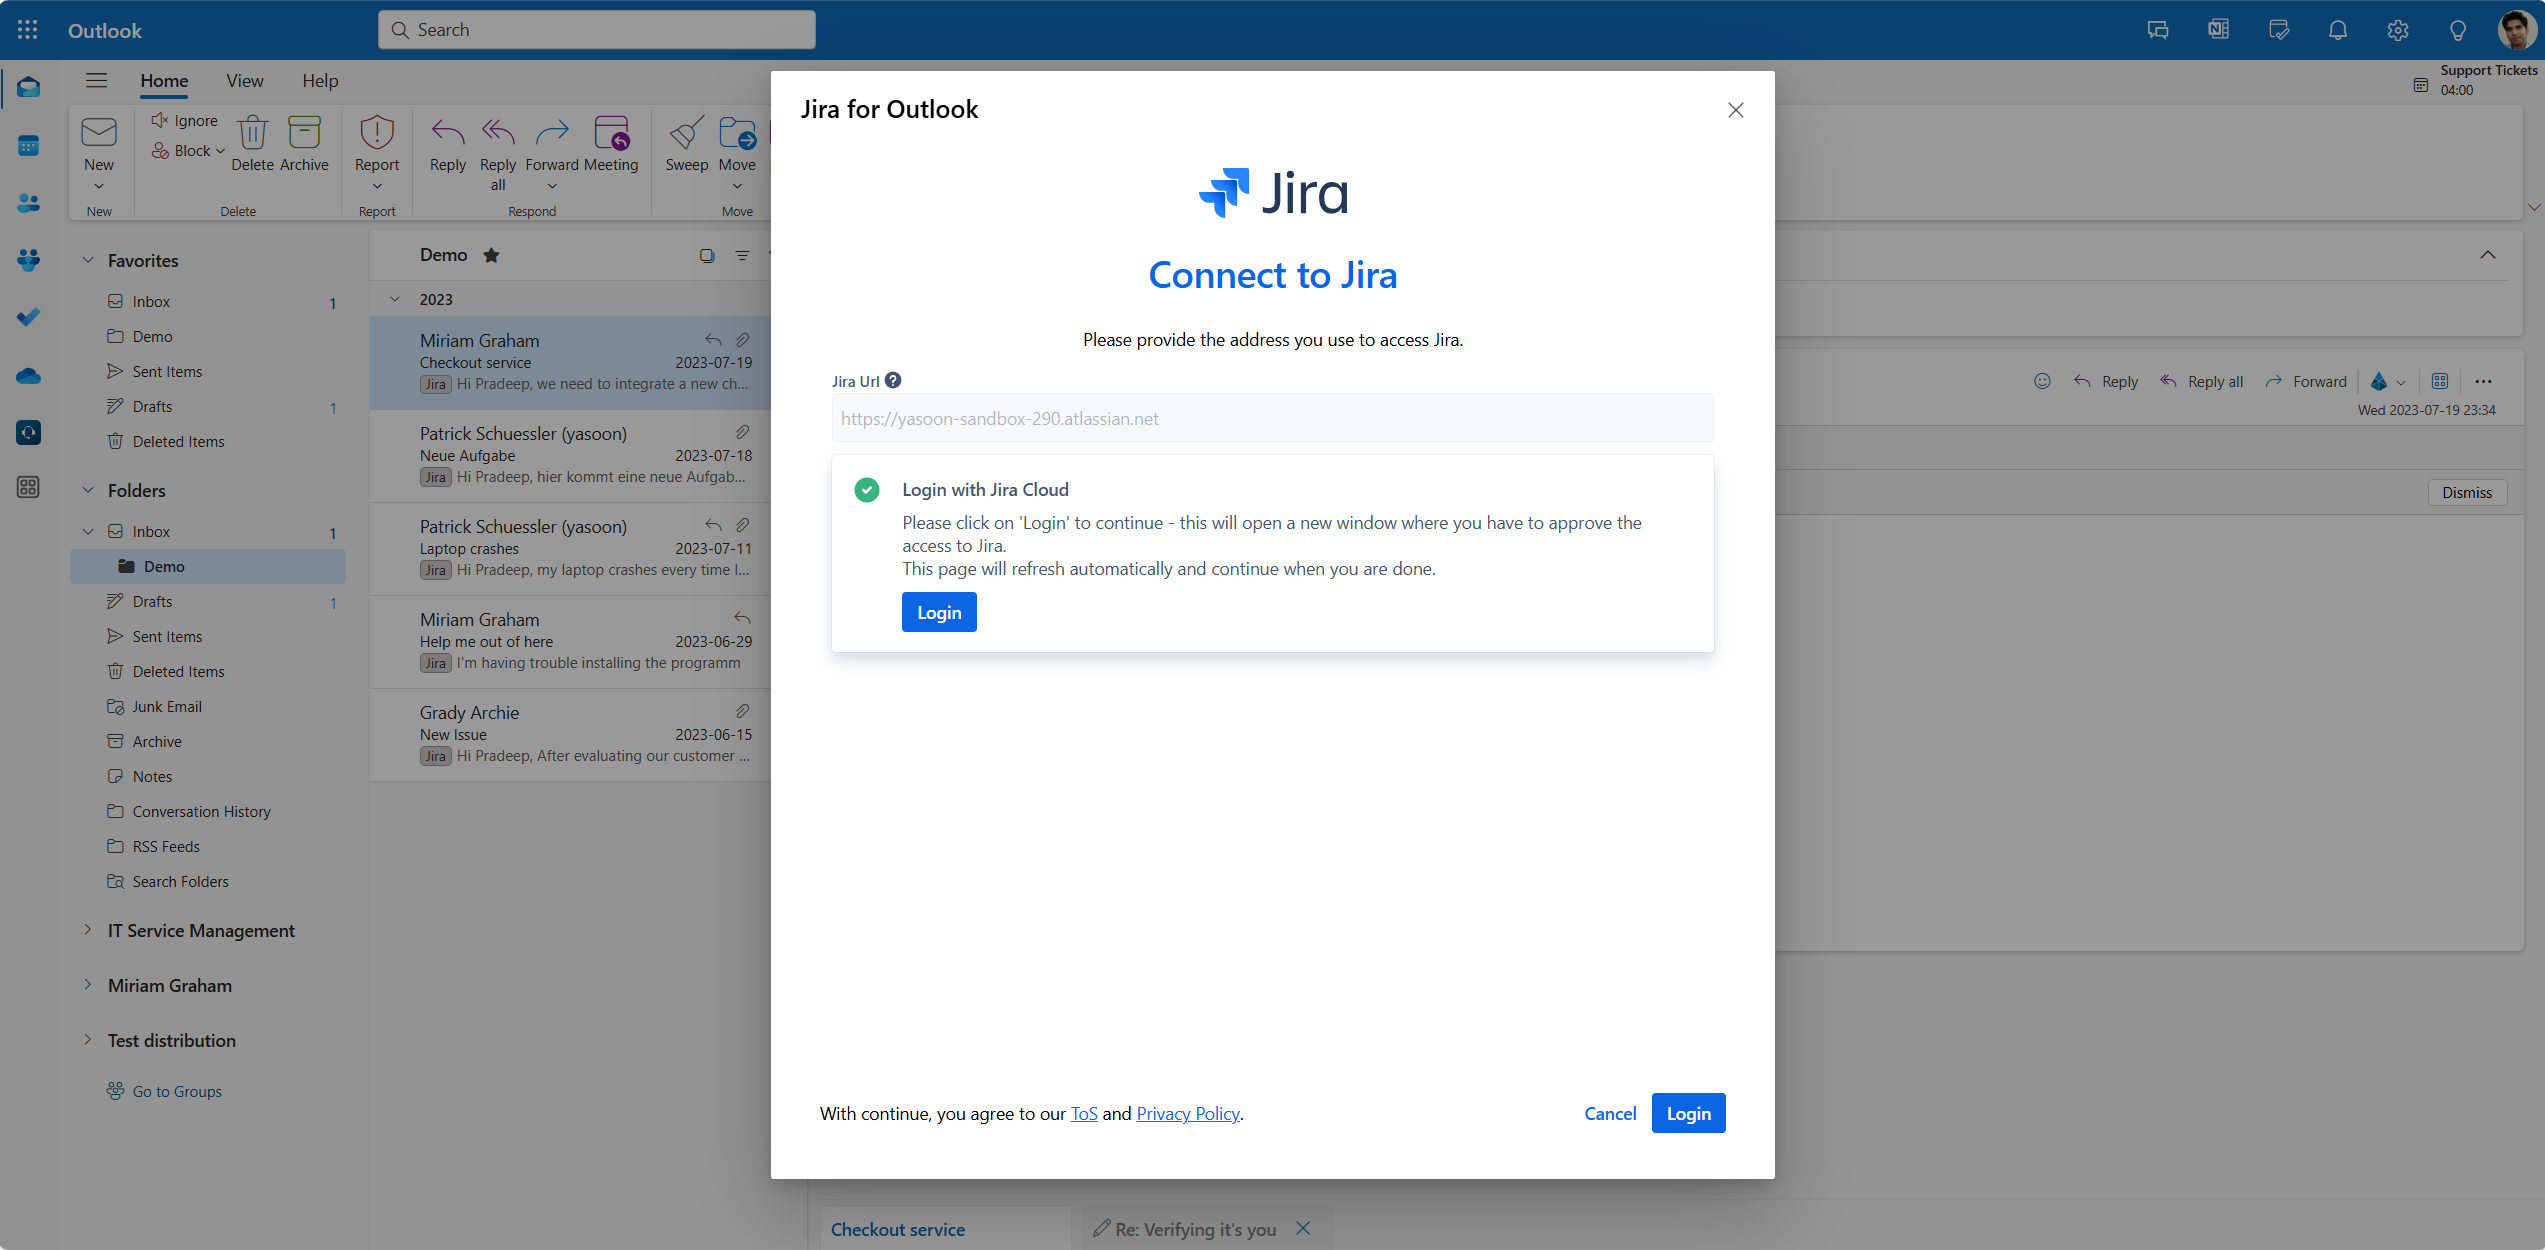
The login from Outlook is required to access Jira features in your Outlook inbox, such as searching for issues, creating new issues from emails, or adding email conversations to existing issues.
Follow the steps below.
If you add multiple Jira instances, you must select your instance each time you create a new issue. If you use one Jira instance, it is automatically selected when creating a new issue.
Reset the add-in
There might be situations, where you need to reset the add-in by logging out.
To reset the add-in, open the “Related issues” sidebar and click the ⚙️-icon. Go to “Jira Login” and log out from the current account or all accounts. Click “Forget” to allow the add-in to reset completely, removing all data and closing open windows. You can reopen the add-in and log in with your instance to start fresh.
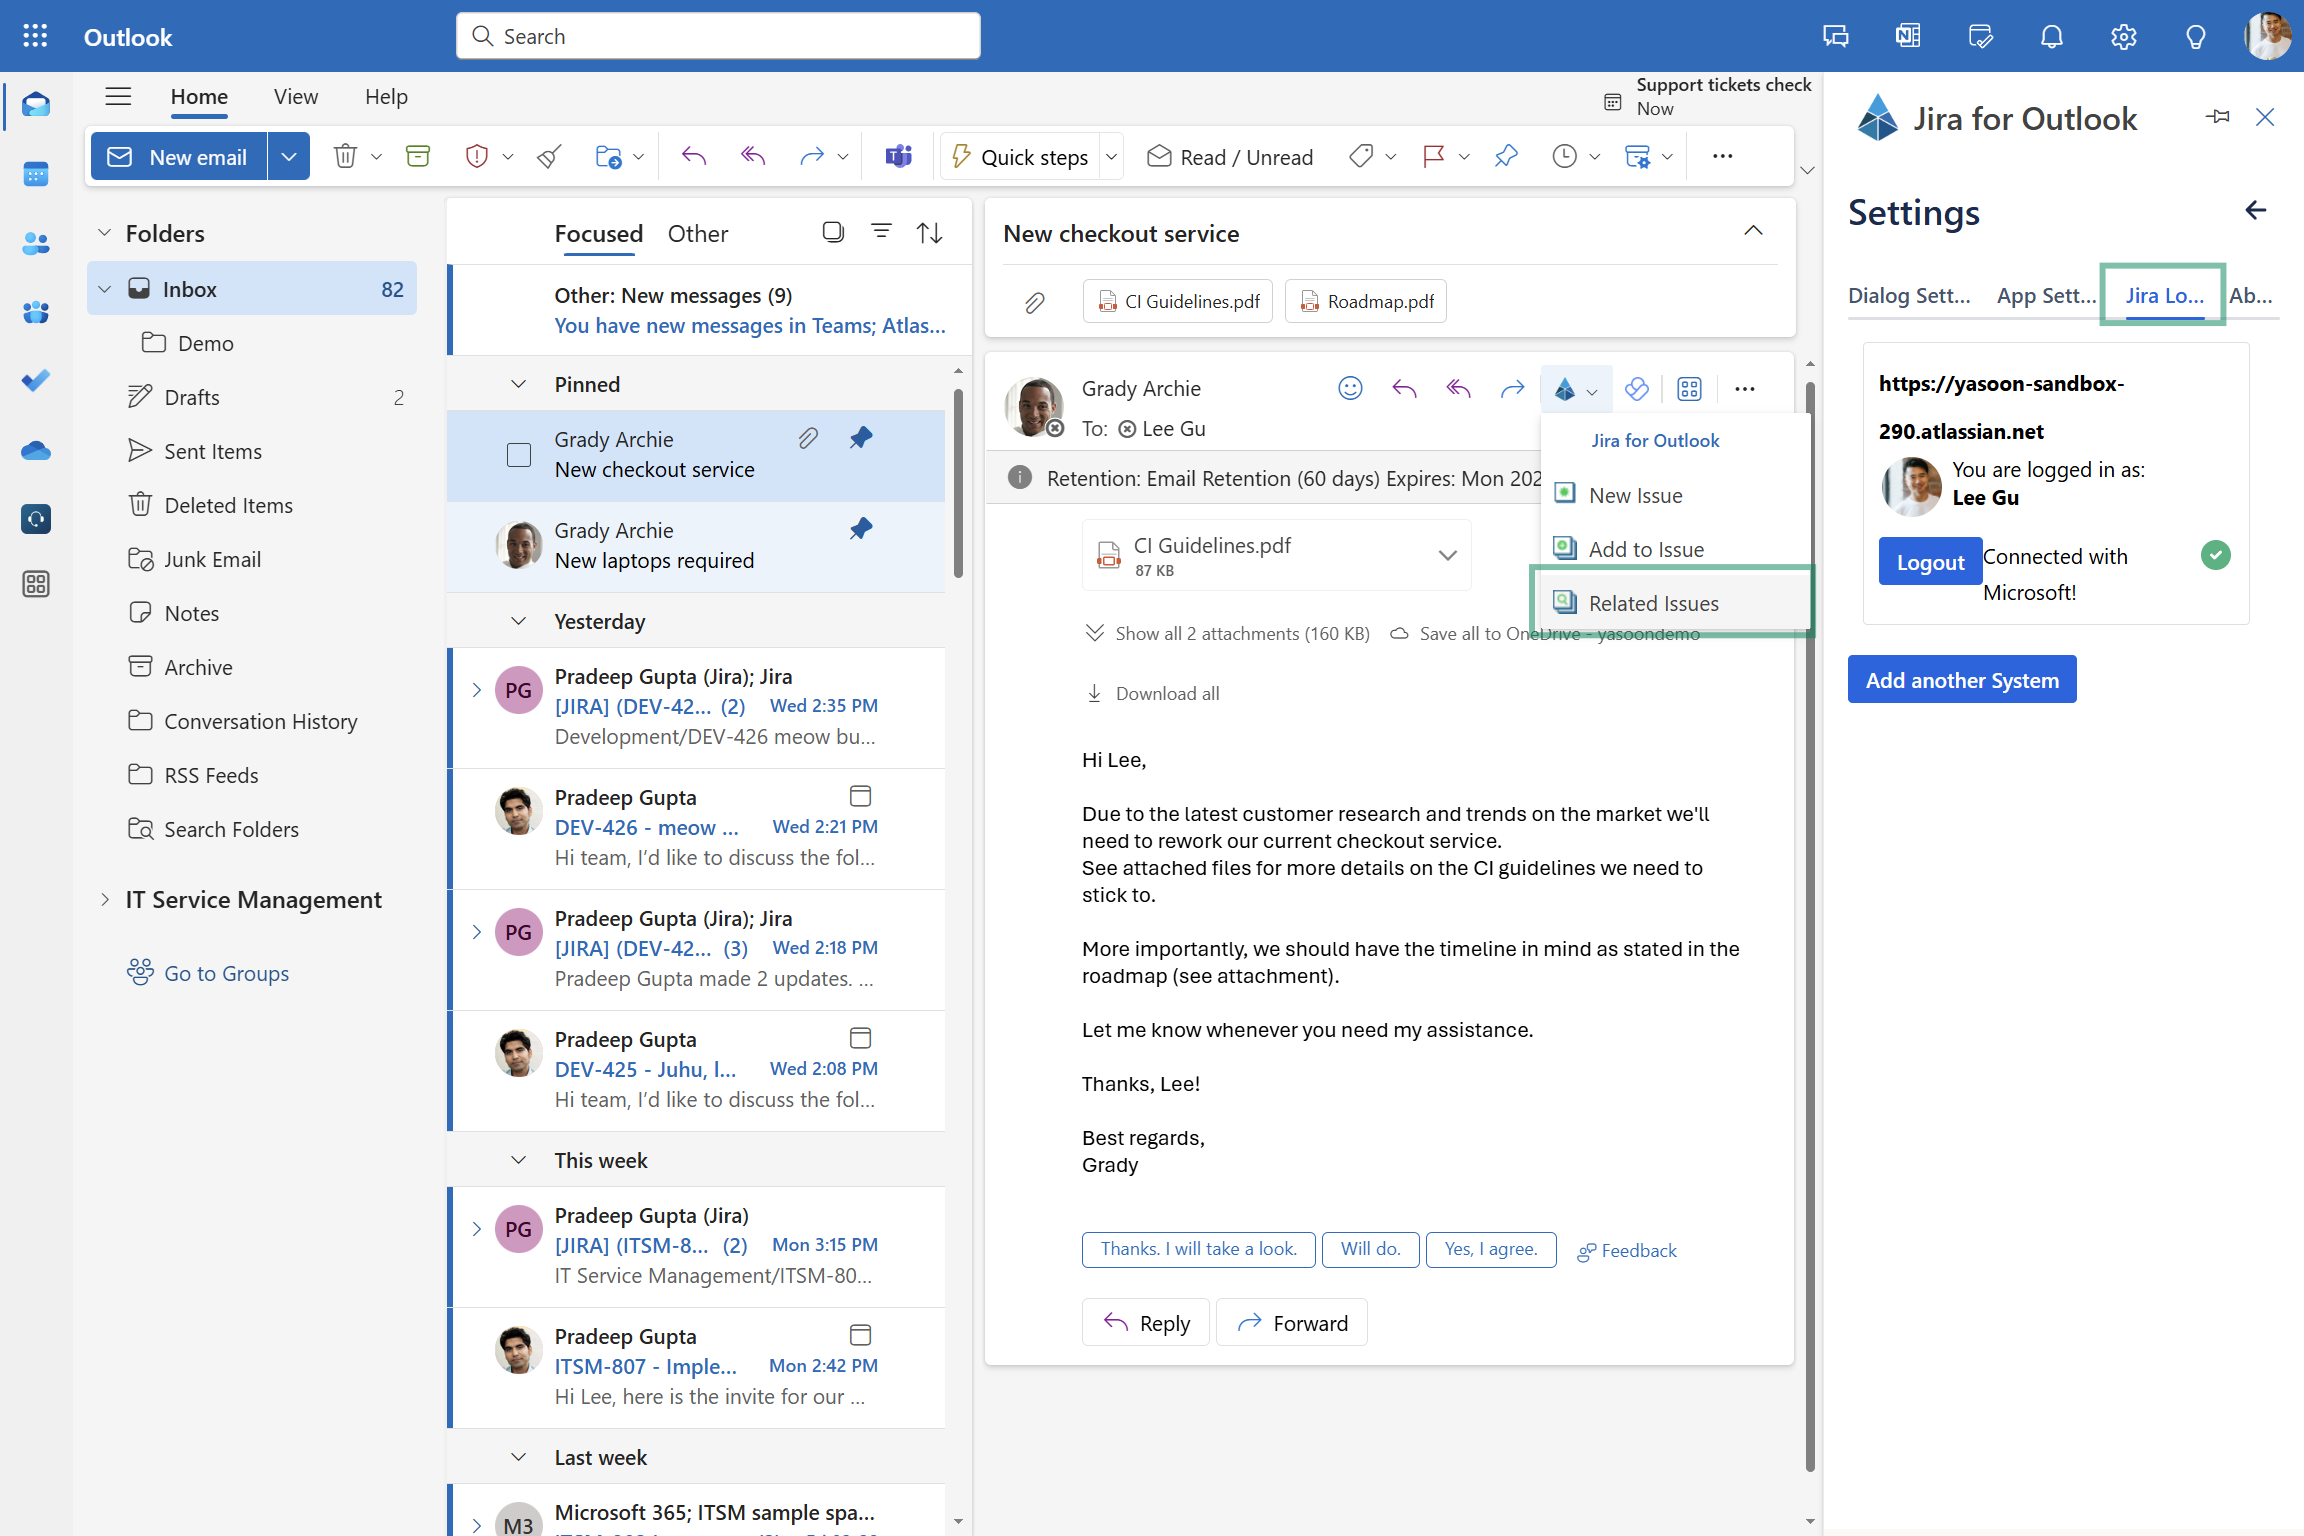
If you want to switch instances, simply logout from it and login to another listed in your sidebar.

